Front Anti-Roll Bar (FARB) Development
Fast-adjustable blade-style anti-roll bar designed with multibody simulation and manufactured using 3D-printed soft jaws and waterjet fixturing. Enabled sub-30 second stiffness changes compared to 10–15 minutes with previous designs.
Our Formula UBC car needed a front anti-roll bar that was easy to tune, lightweight, and predictable. I designed a blade-style, rapidly adjustable FARB so we could change roll stiffness in under 30 seconds instead of the 10–15 minutes it took with previous designs.
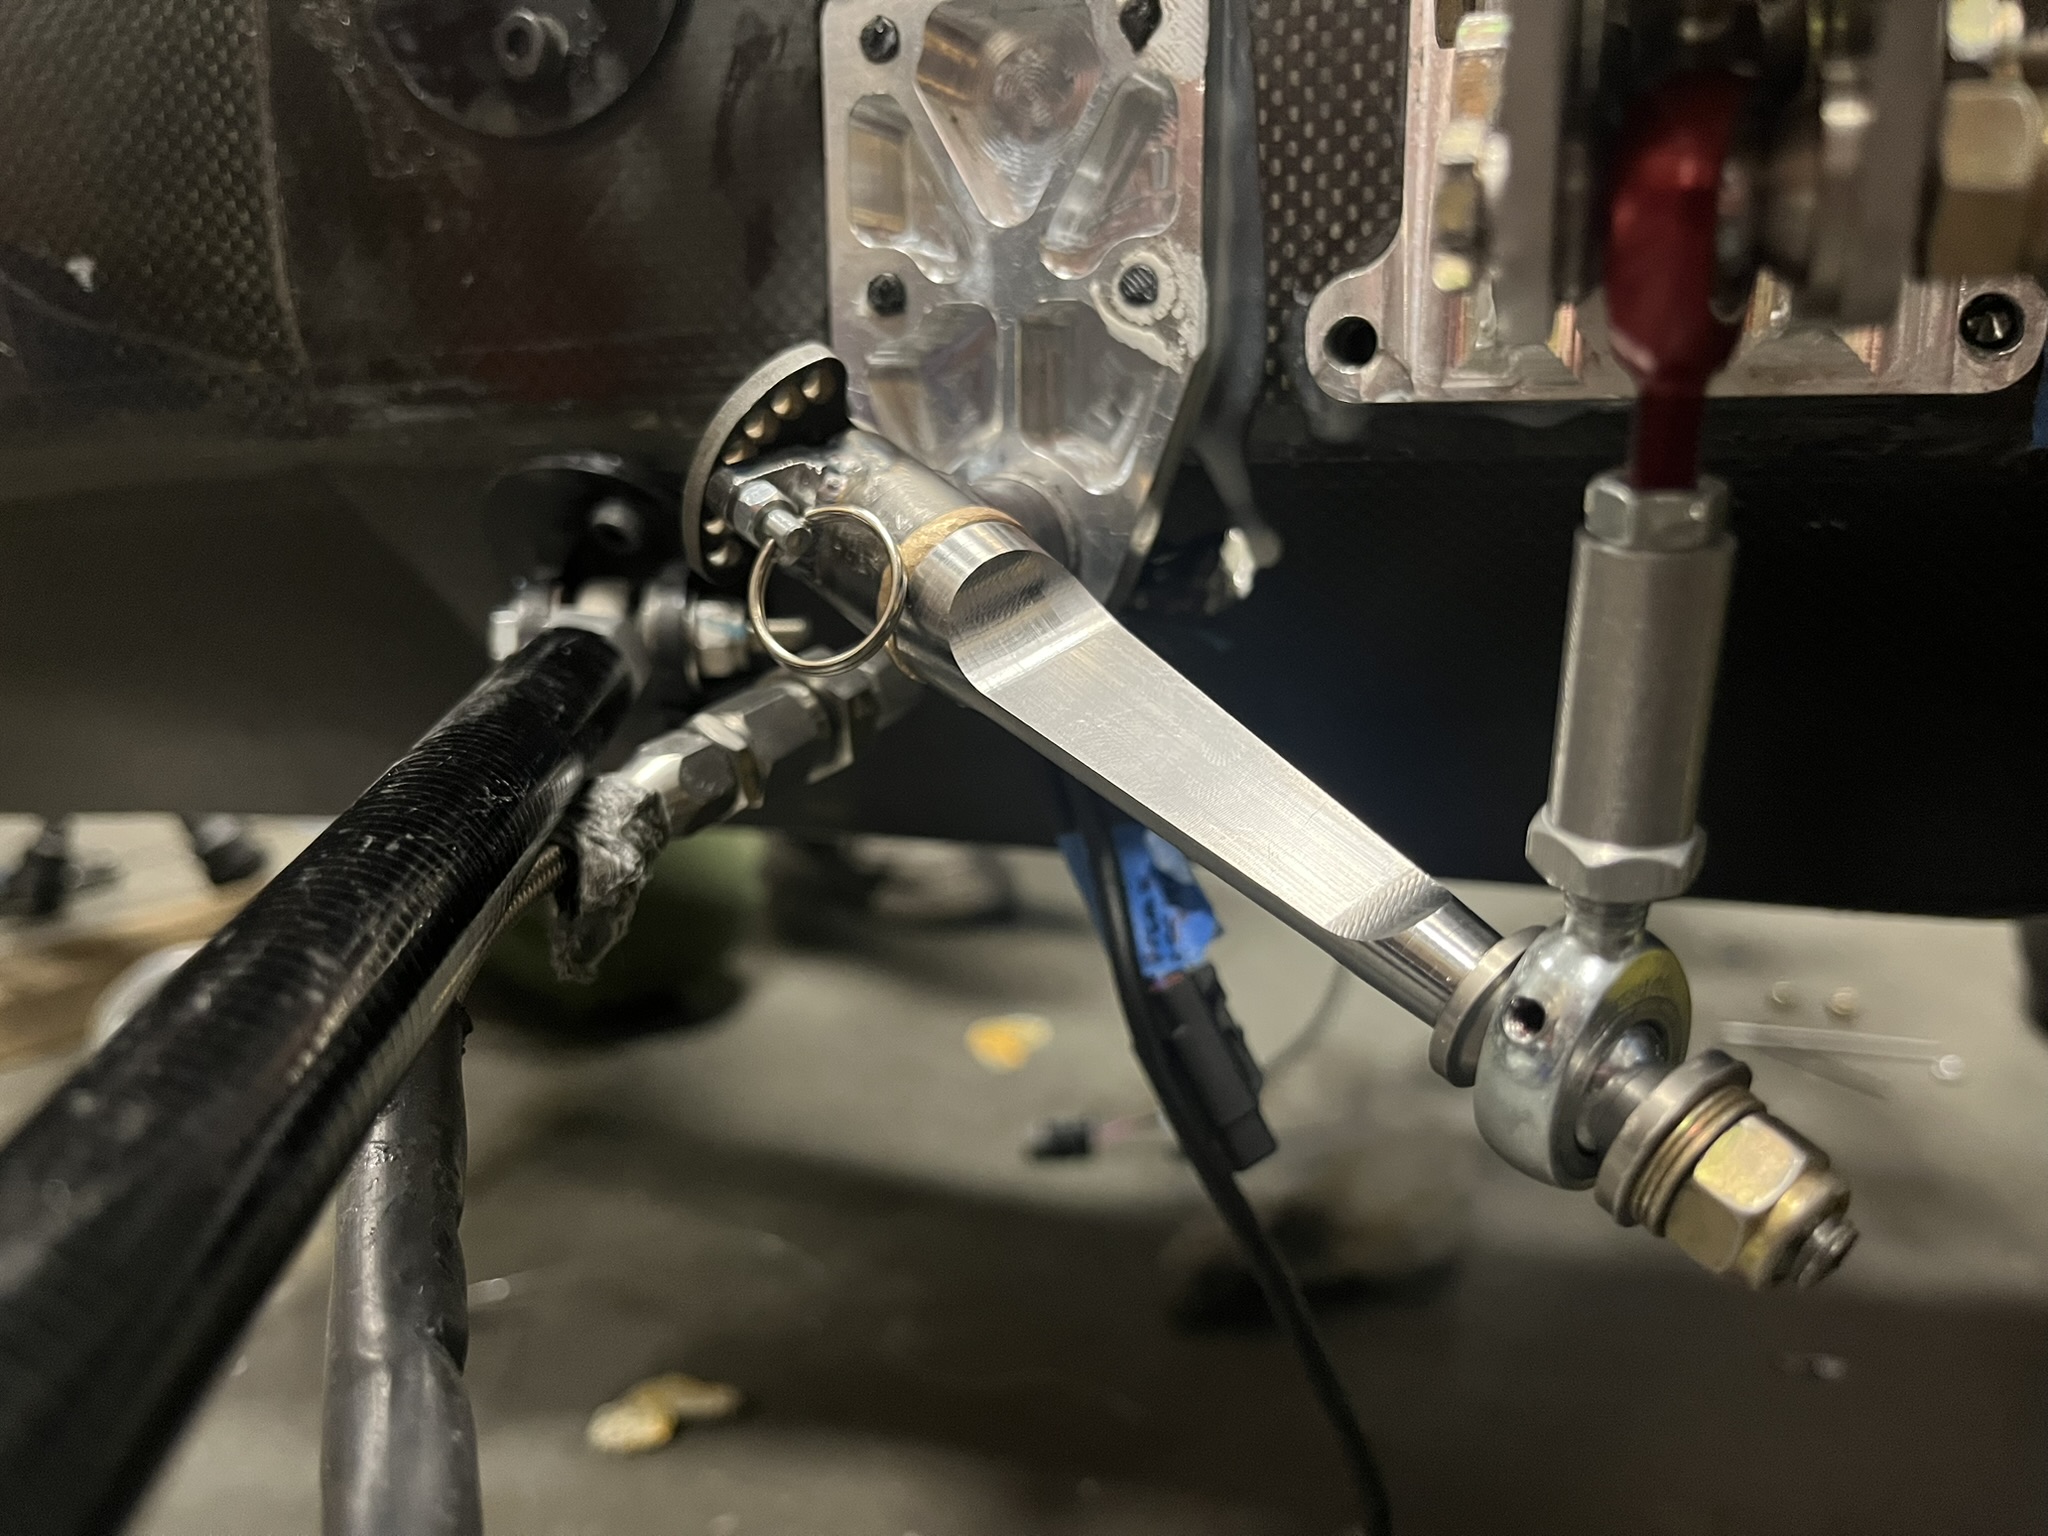 Finished FARB assembly installed on the car
Goals
- Fast adjustability so we could tune roll stiffness between sessions (or even between runs)
- Predictable, linear stiffness range matched to our overall roll-stiffness distribution targets
- Manufacturable on student-team equipment, while taking advantage of my co-op shop access at Zaber
Design & Analysis
- Modeled the FARB (torsion bar, blades, and links) and suspension in a Simulink multibody model
- Used the model as a design calculator to:
- Sweep bar diameters, blade geometries, and motion ratios
- Target a stiffness range that worked with the rear bar and spring package
- Maximize the linear region of operation
- Linked the simulation results back to CAD so geometry changes could be quickly re-evaluated
- Indexed blade positions so each setting corresponded to a known, repeatable stiffness
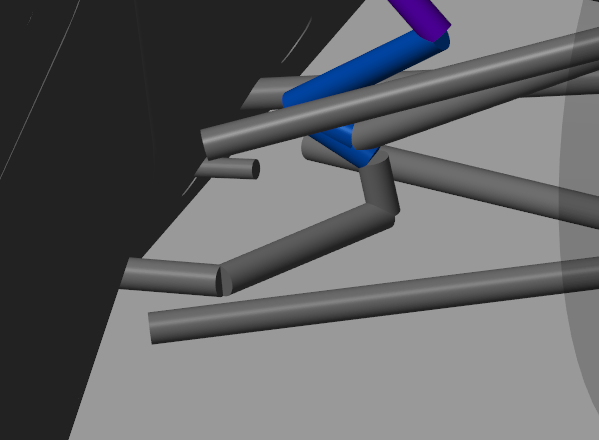
Simulink multibody model used for stiffness calculations and geometry optimization
Manufacturing
A lot of the machining was only practical because of my access to the machine shop at Zaber during co-op, plus aggressive use of 3D-printed tooling:
Bar ends & blades
- Turned the bar ends from 4130 steel, then:
- Used 3D-printed soft jaws to hold them accurately in the mill for mitering and secondary ops
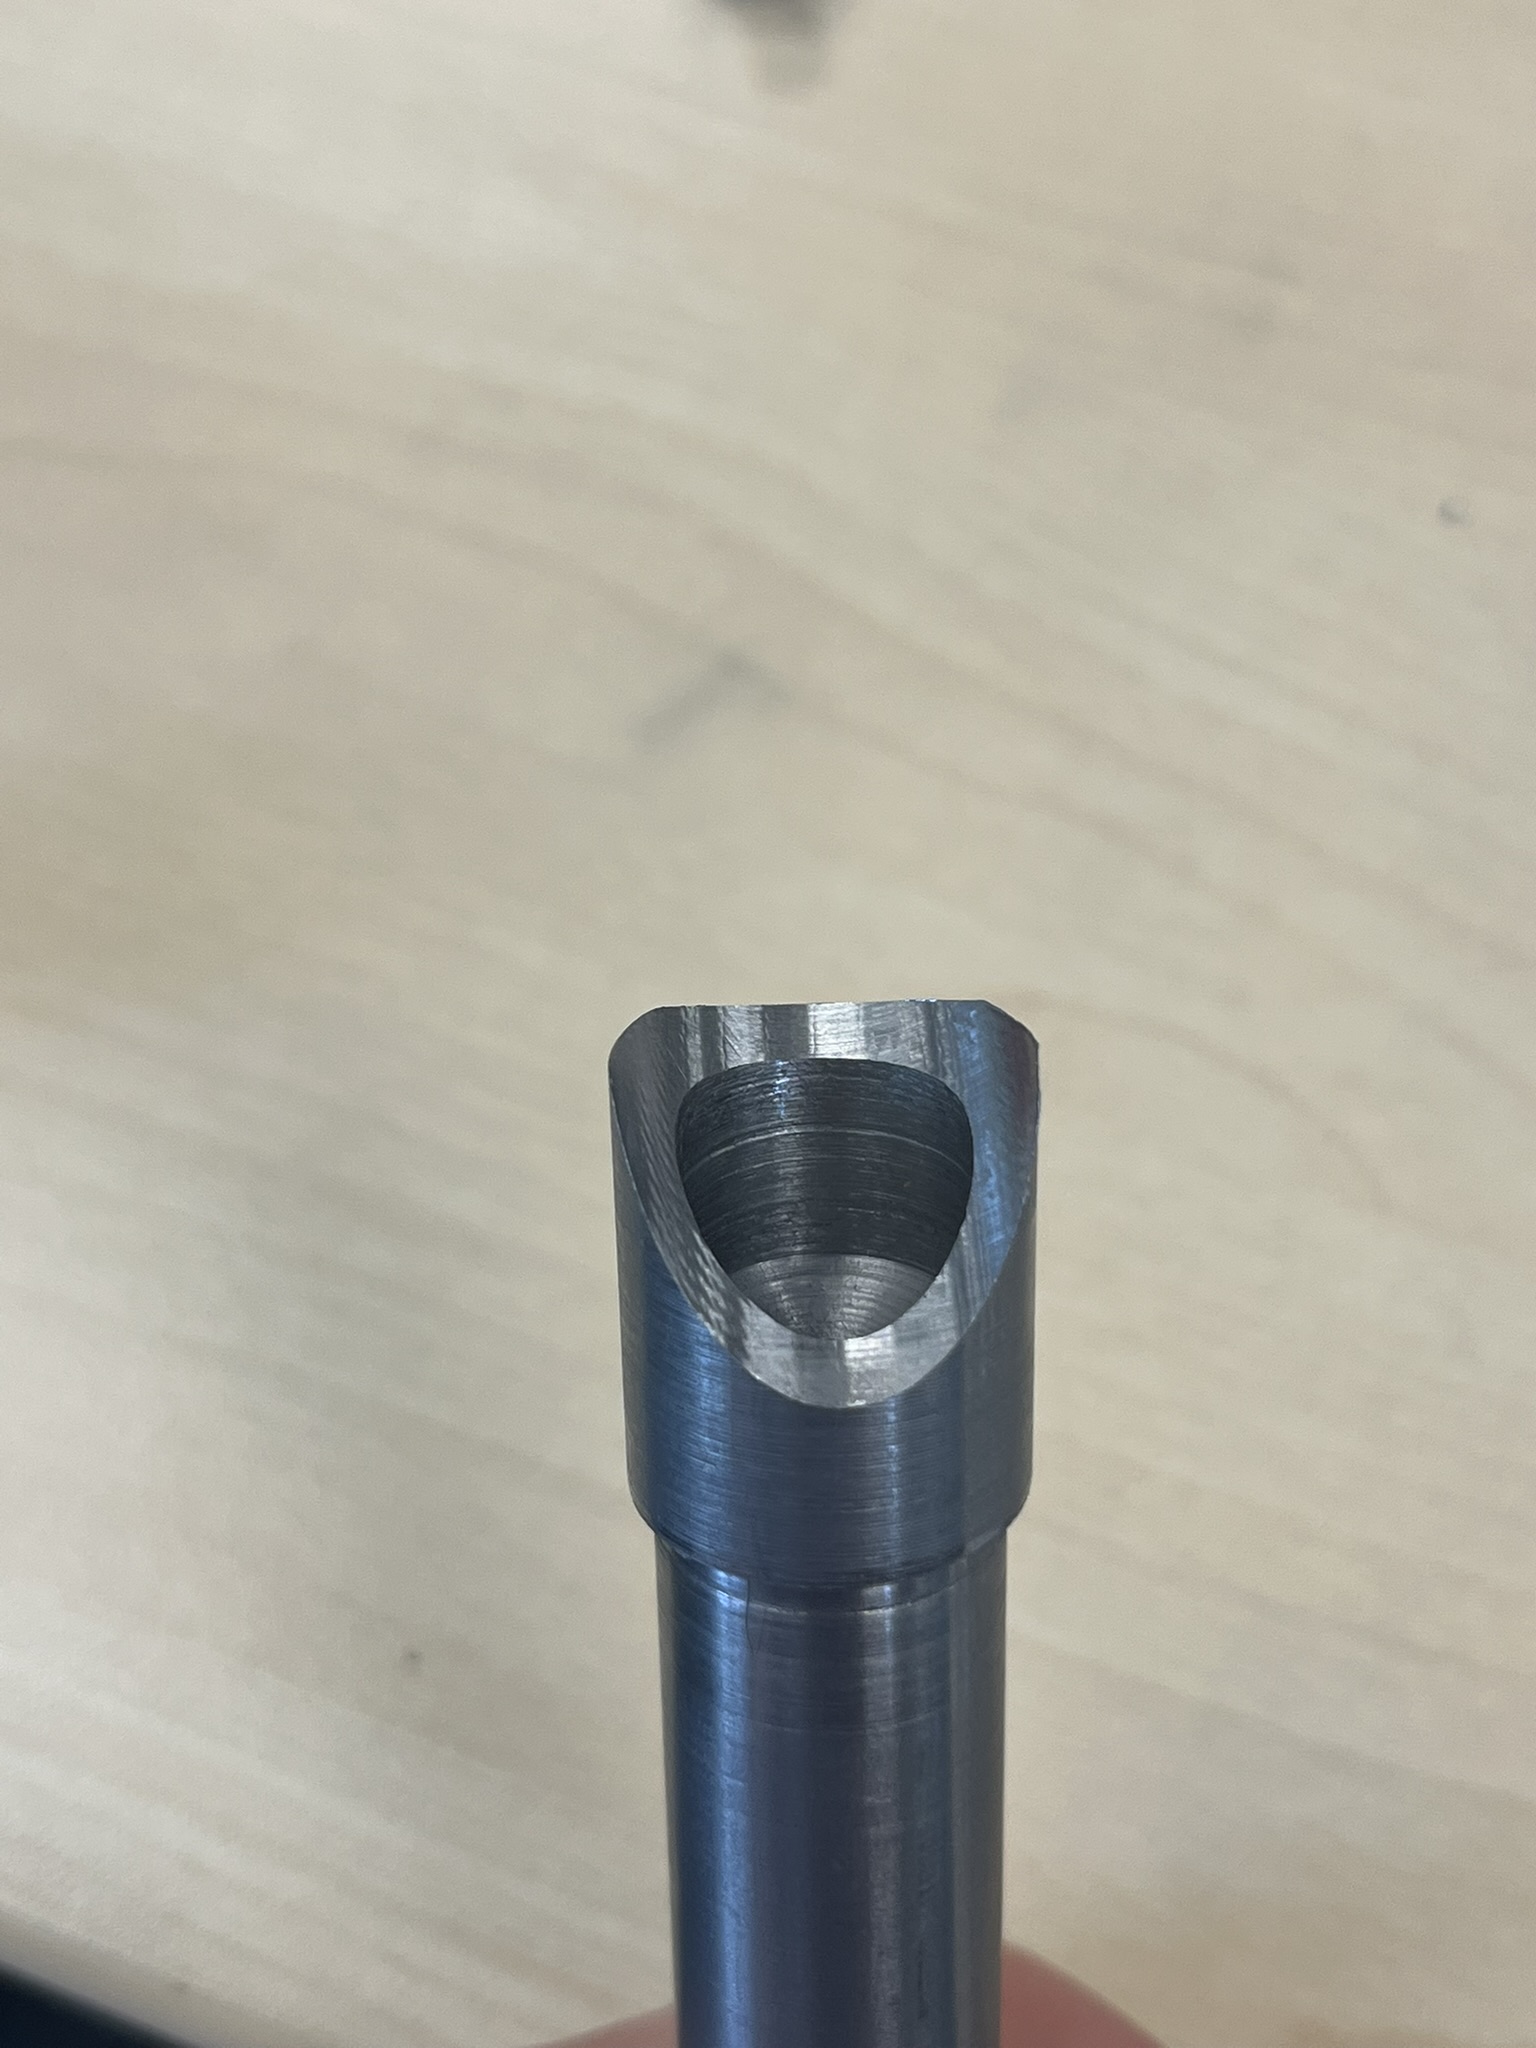 Bar end after mitering operation
- Machined the blades with a combination of:
- Conventional fixturing and
- 3D-printed soft jaws to mill the flat and tap the adjustment hole without distorting the part

Left: Blade workholding with 3D-printed soft jaws. Right: Final milling operation
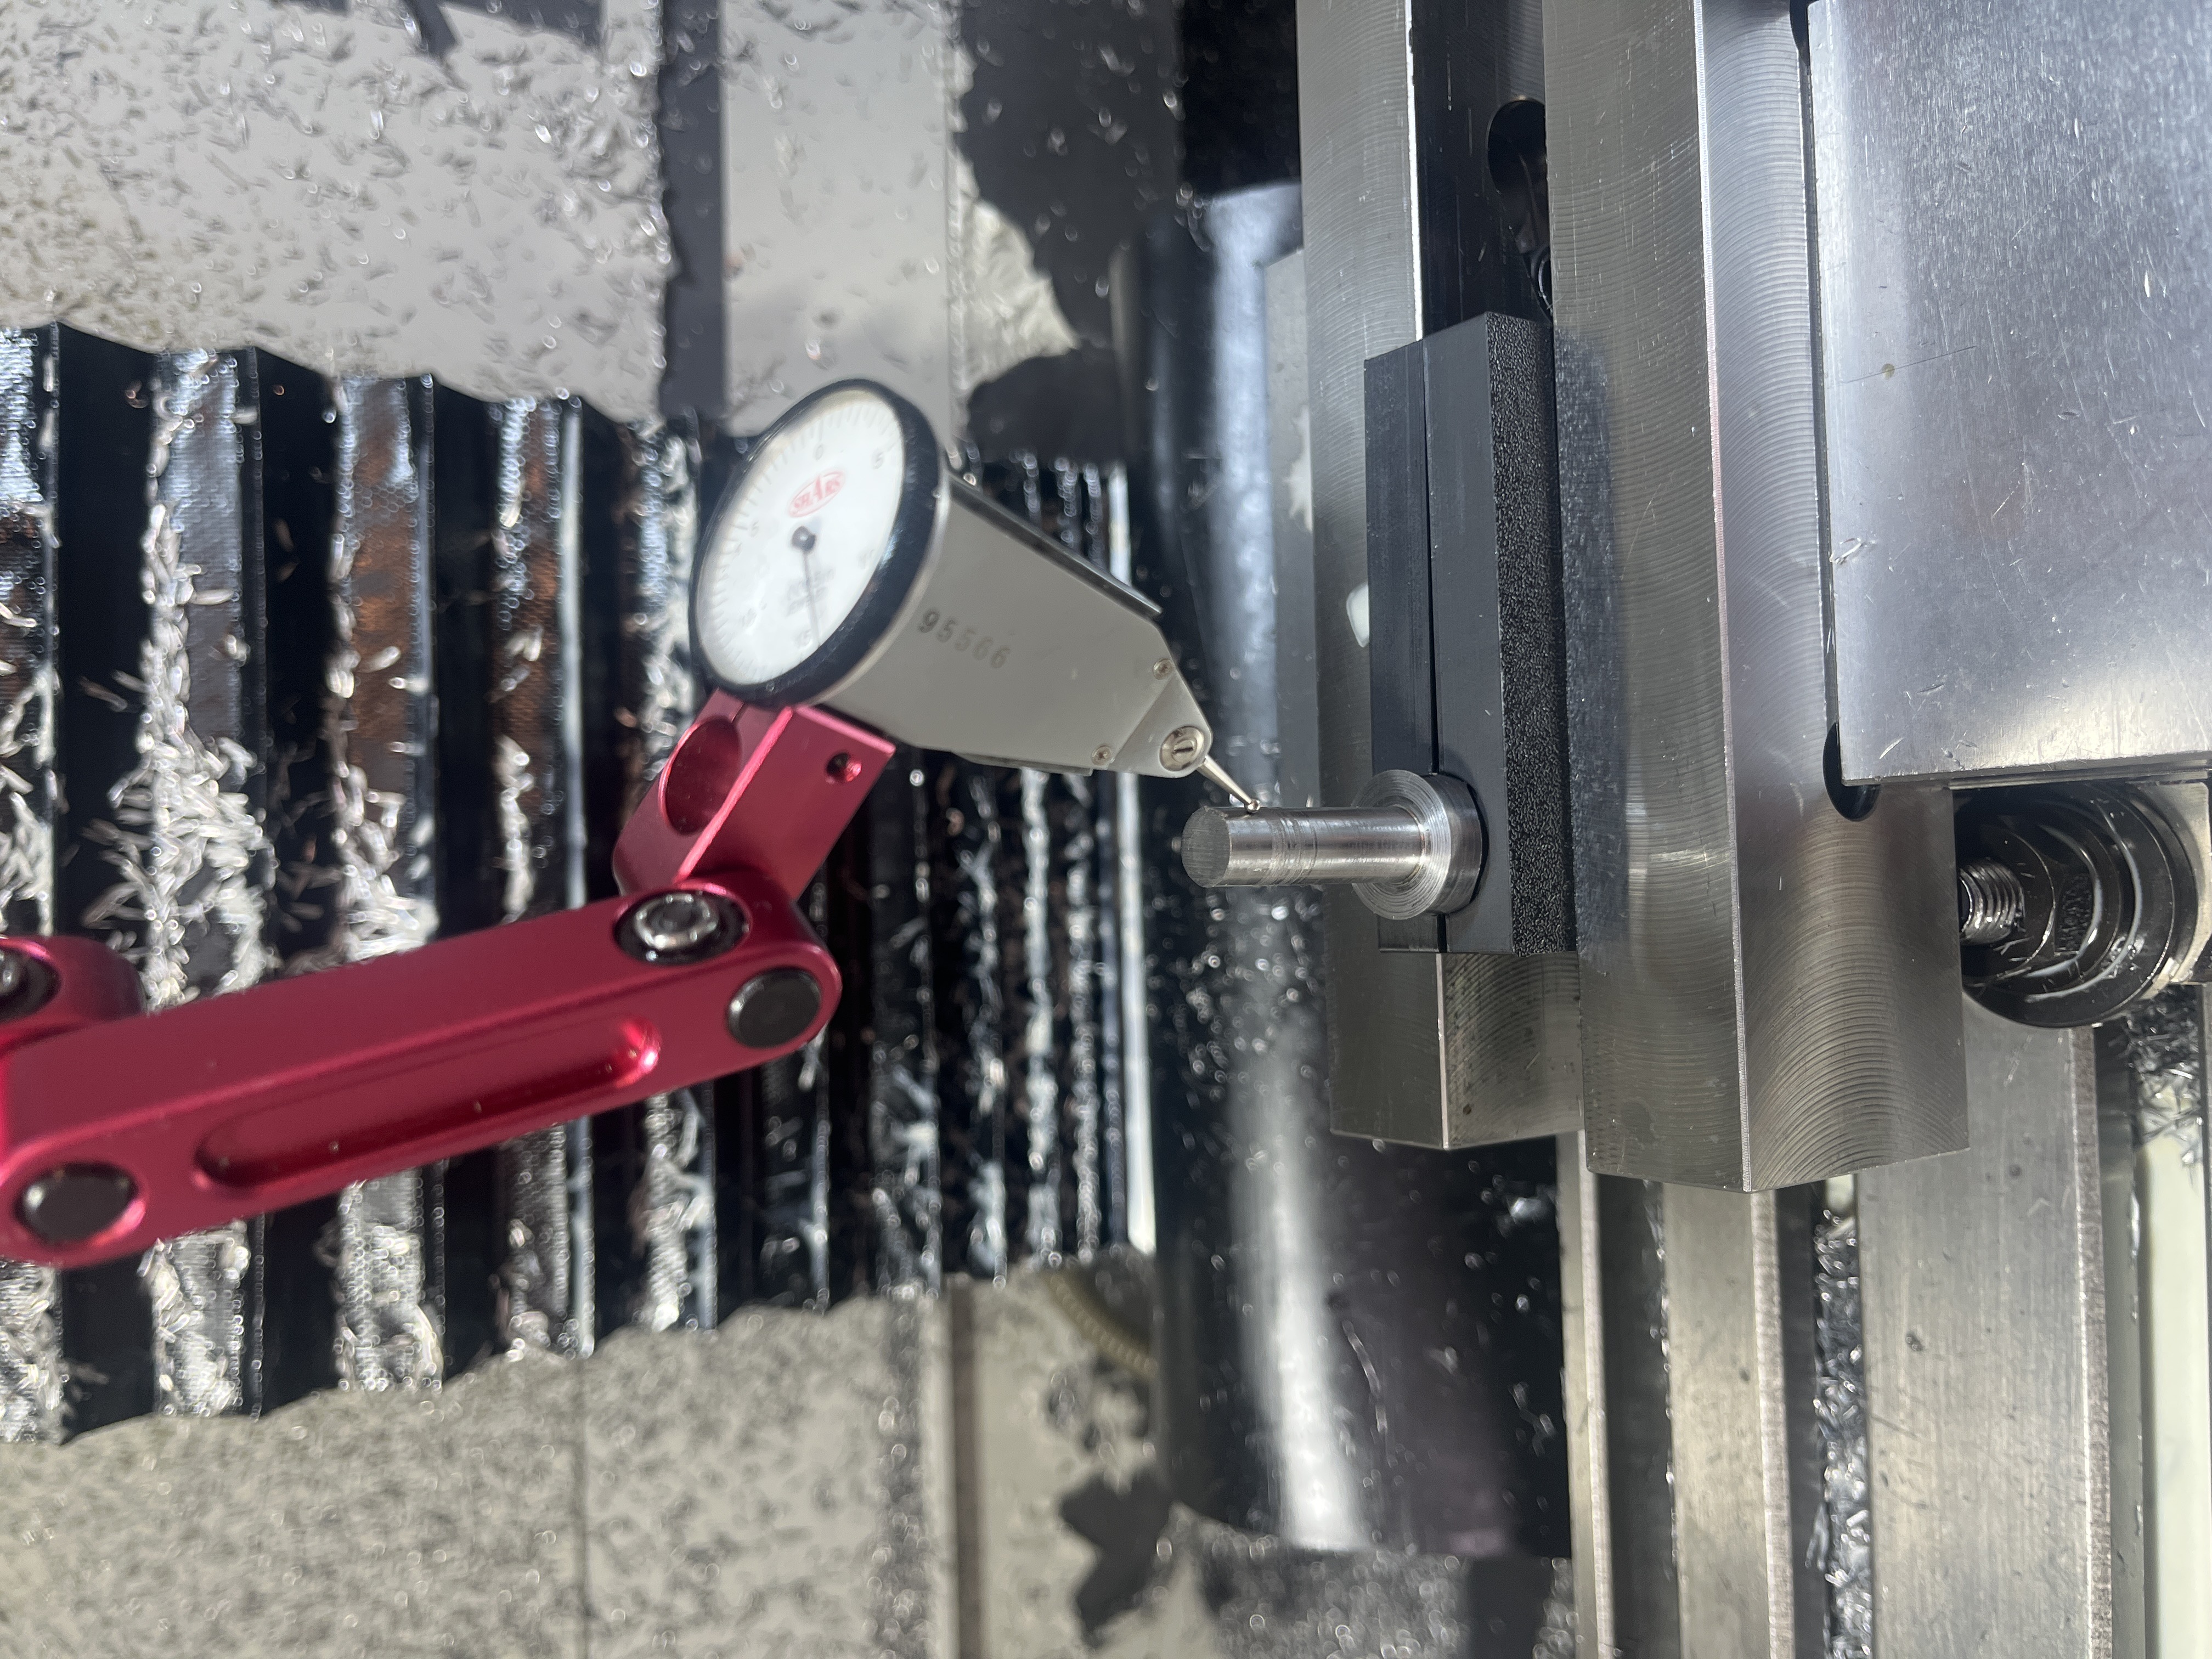
Torsion bar & welding setup
- Turned down the torsion bar to the required diameter/profile
- Waterjet-cut a plate to match the bar-end profile and used it as a welding jig:
- Held the bar ends at the correct angle and spacing
- Kept everything aligned during welding to minimize runout and rework
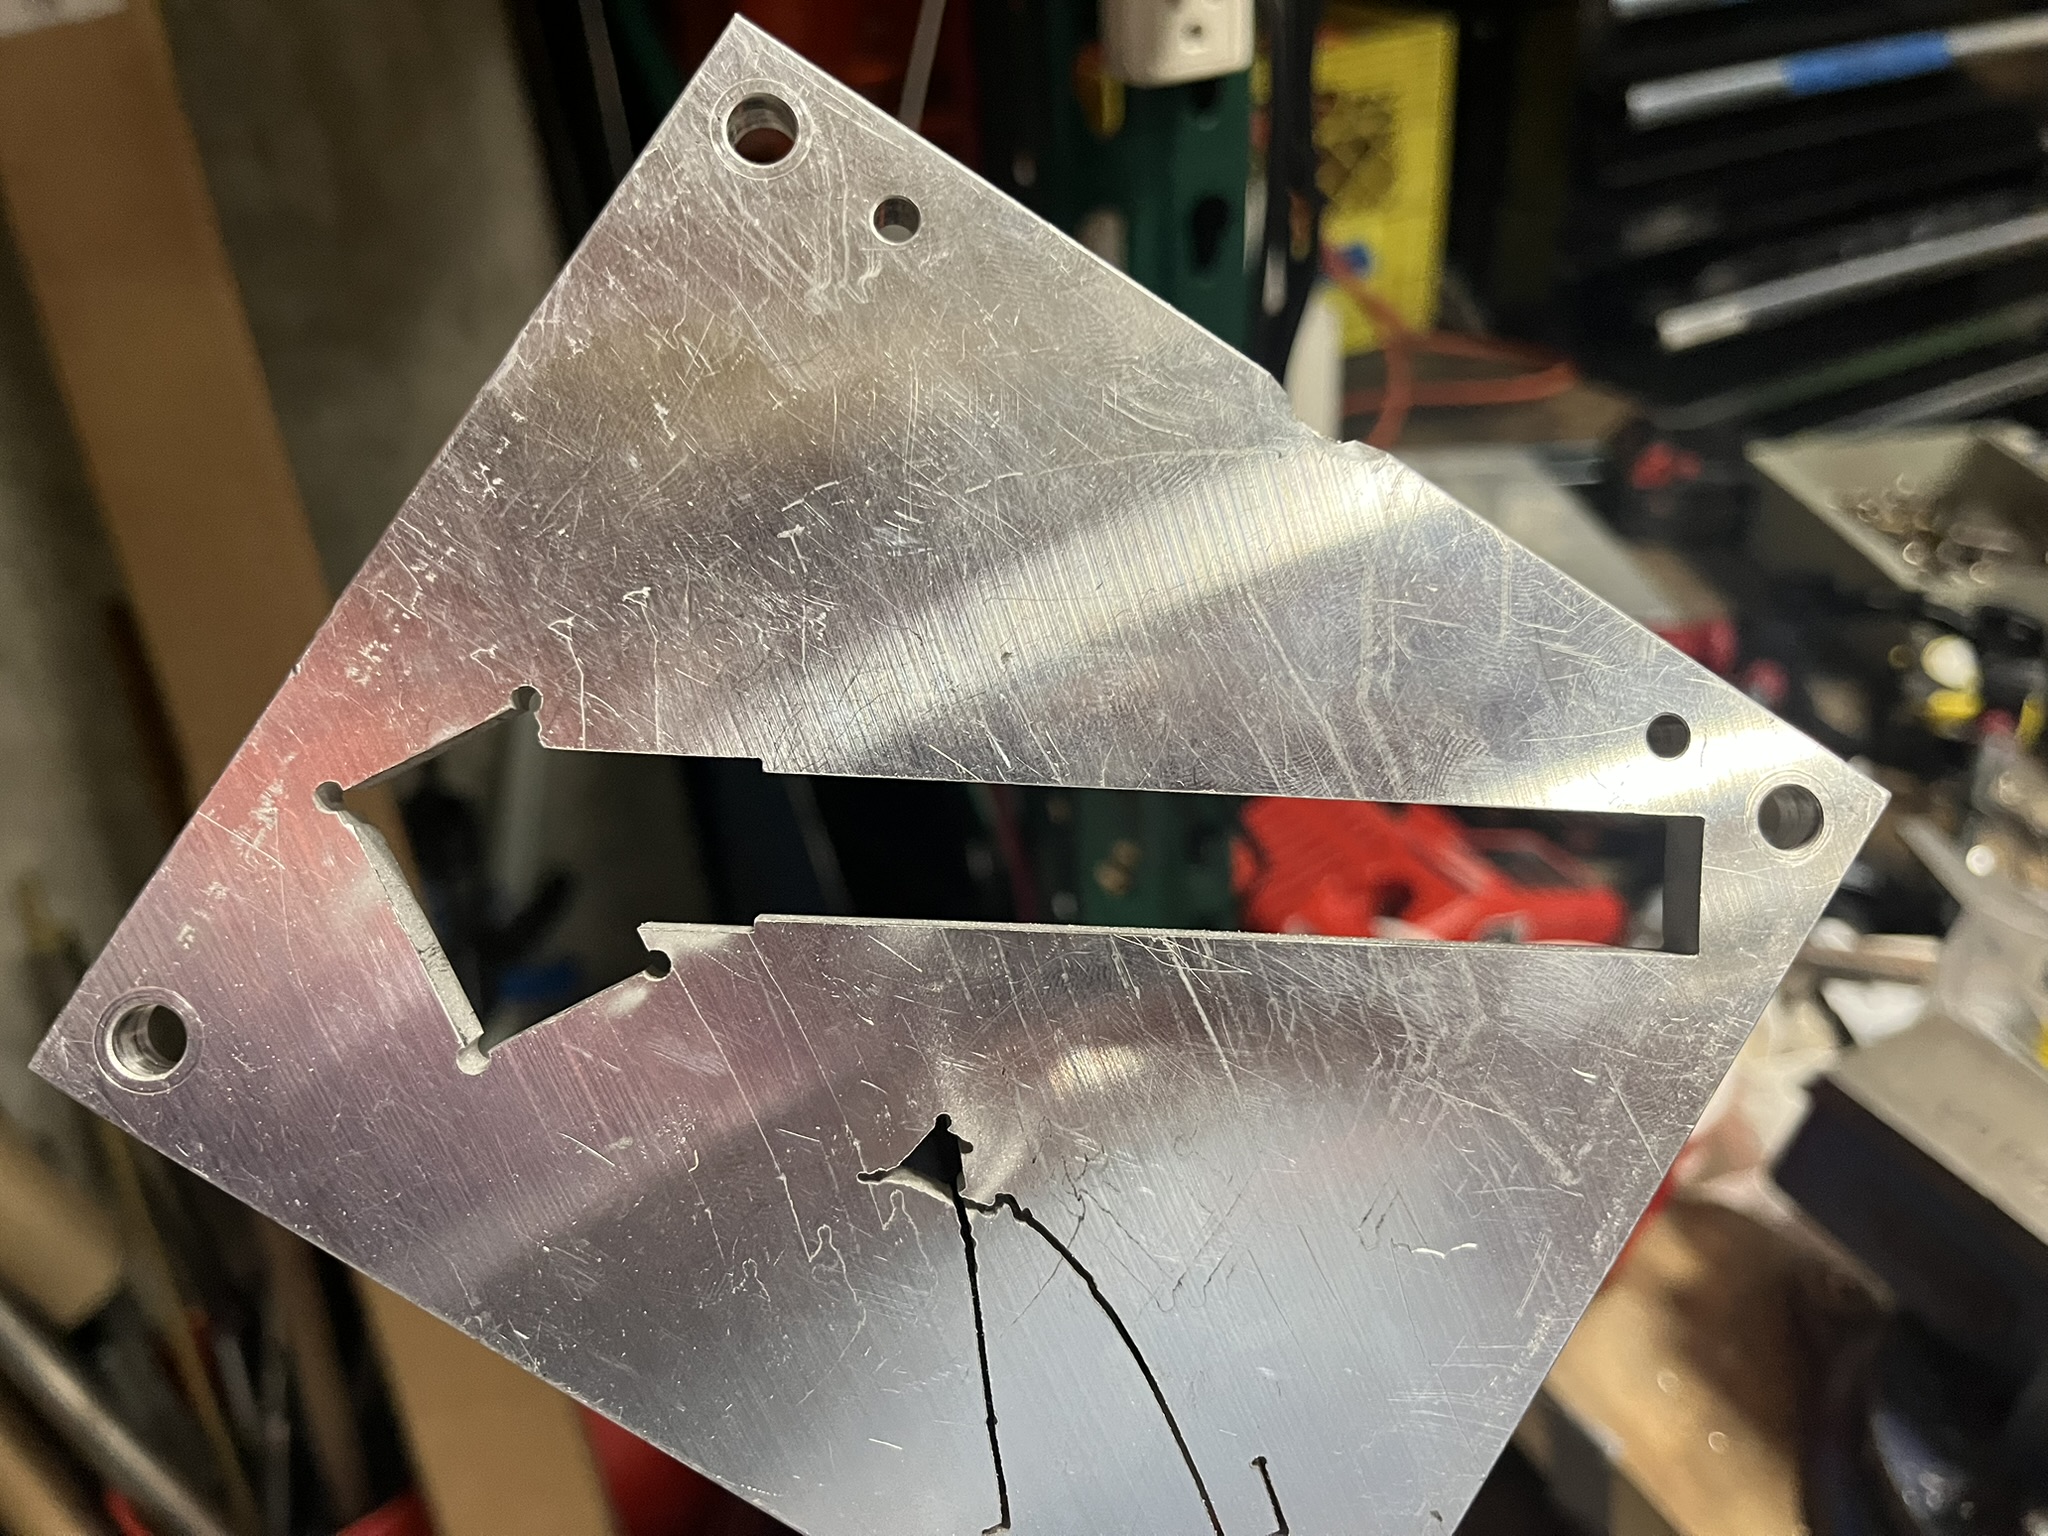 Waterjet-cut welding jig to hold bar ends at precise angles
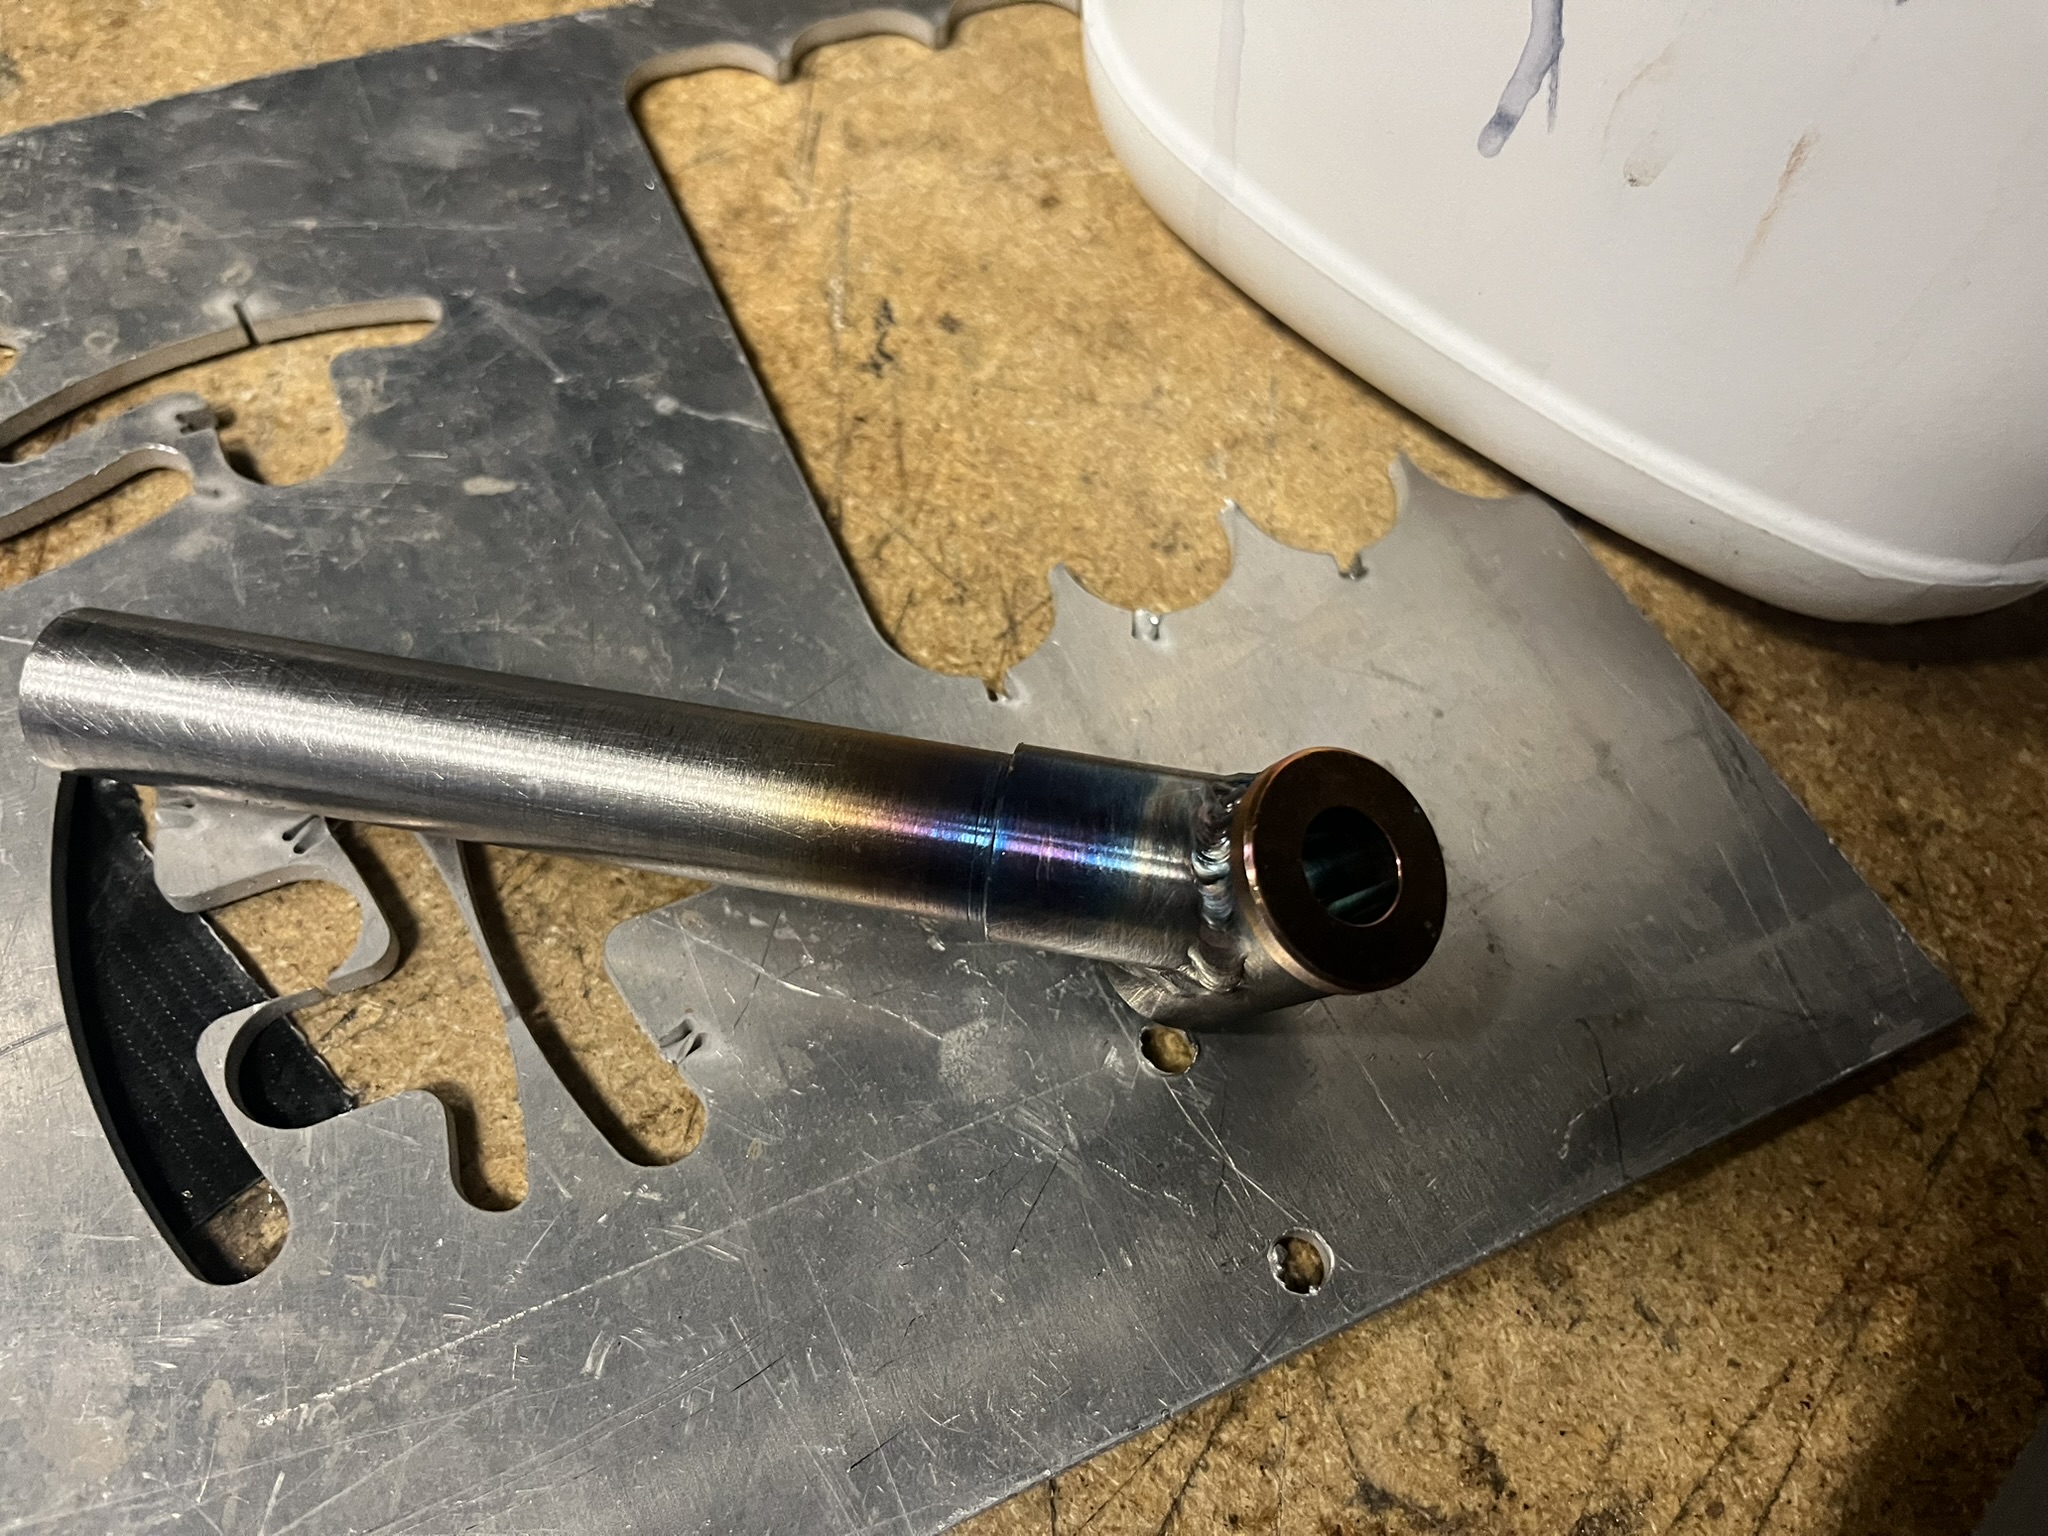 Completed weld between torsion bar and blade mount
Assembly & indexing
- Integrated spring-loaded detents so blade angle (and thus stiffness) could be adjusted quickly
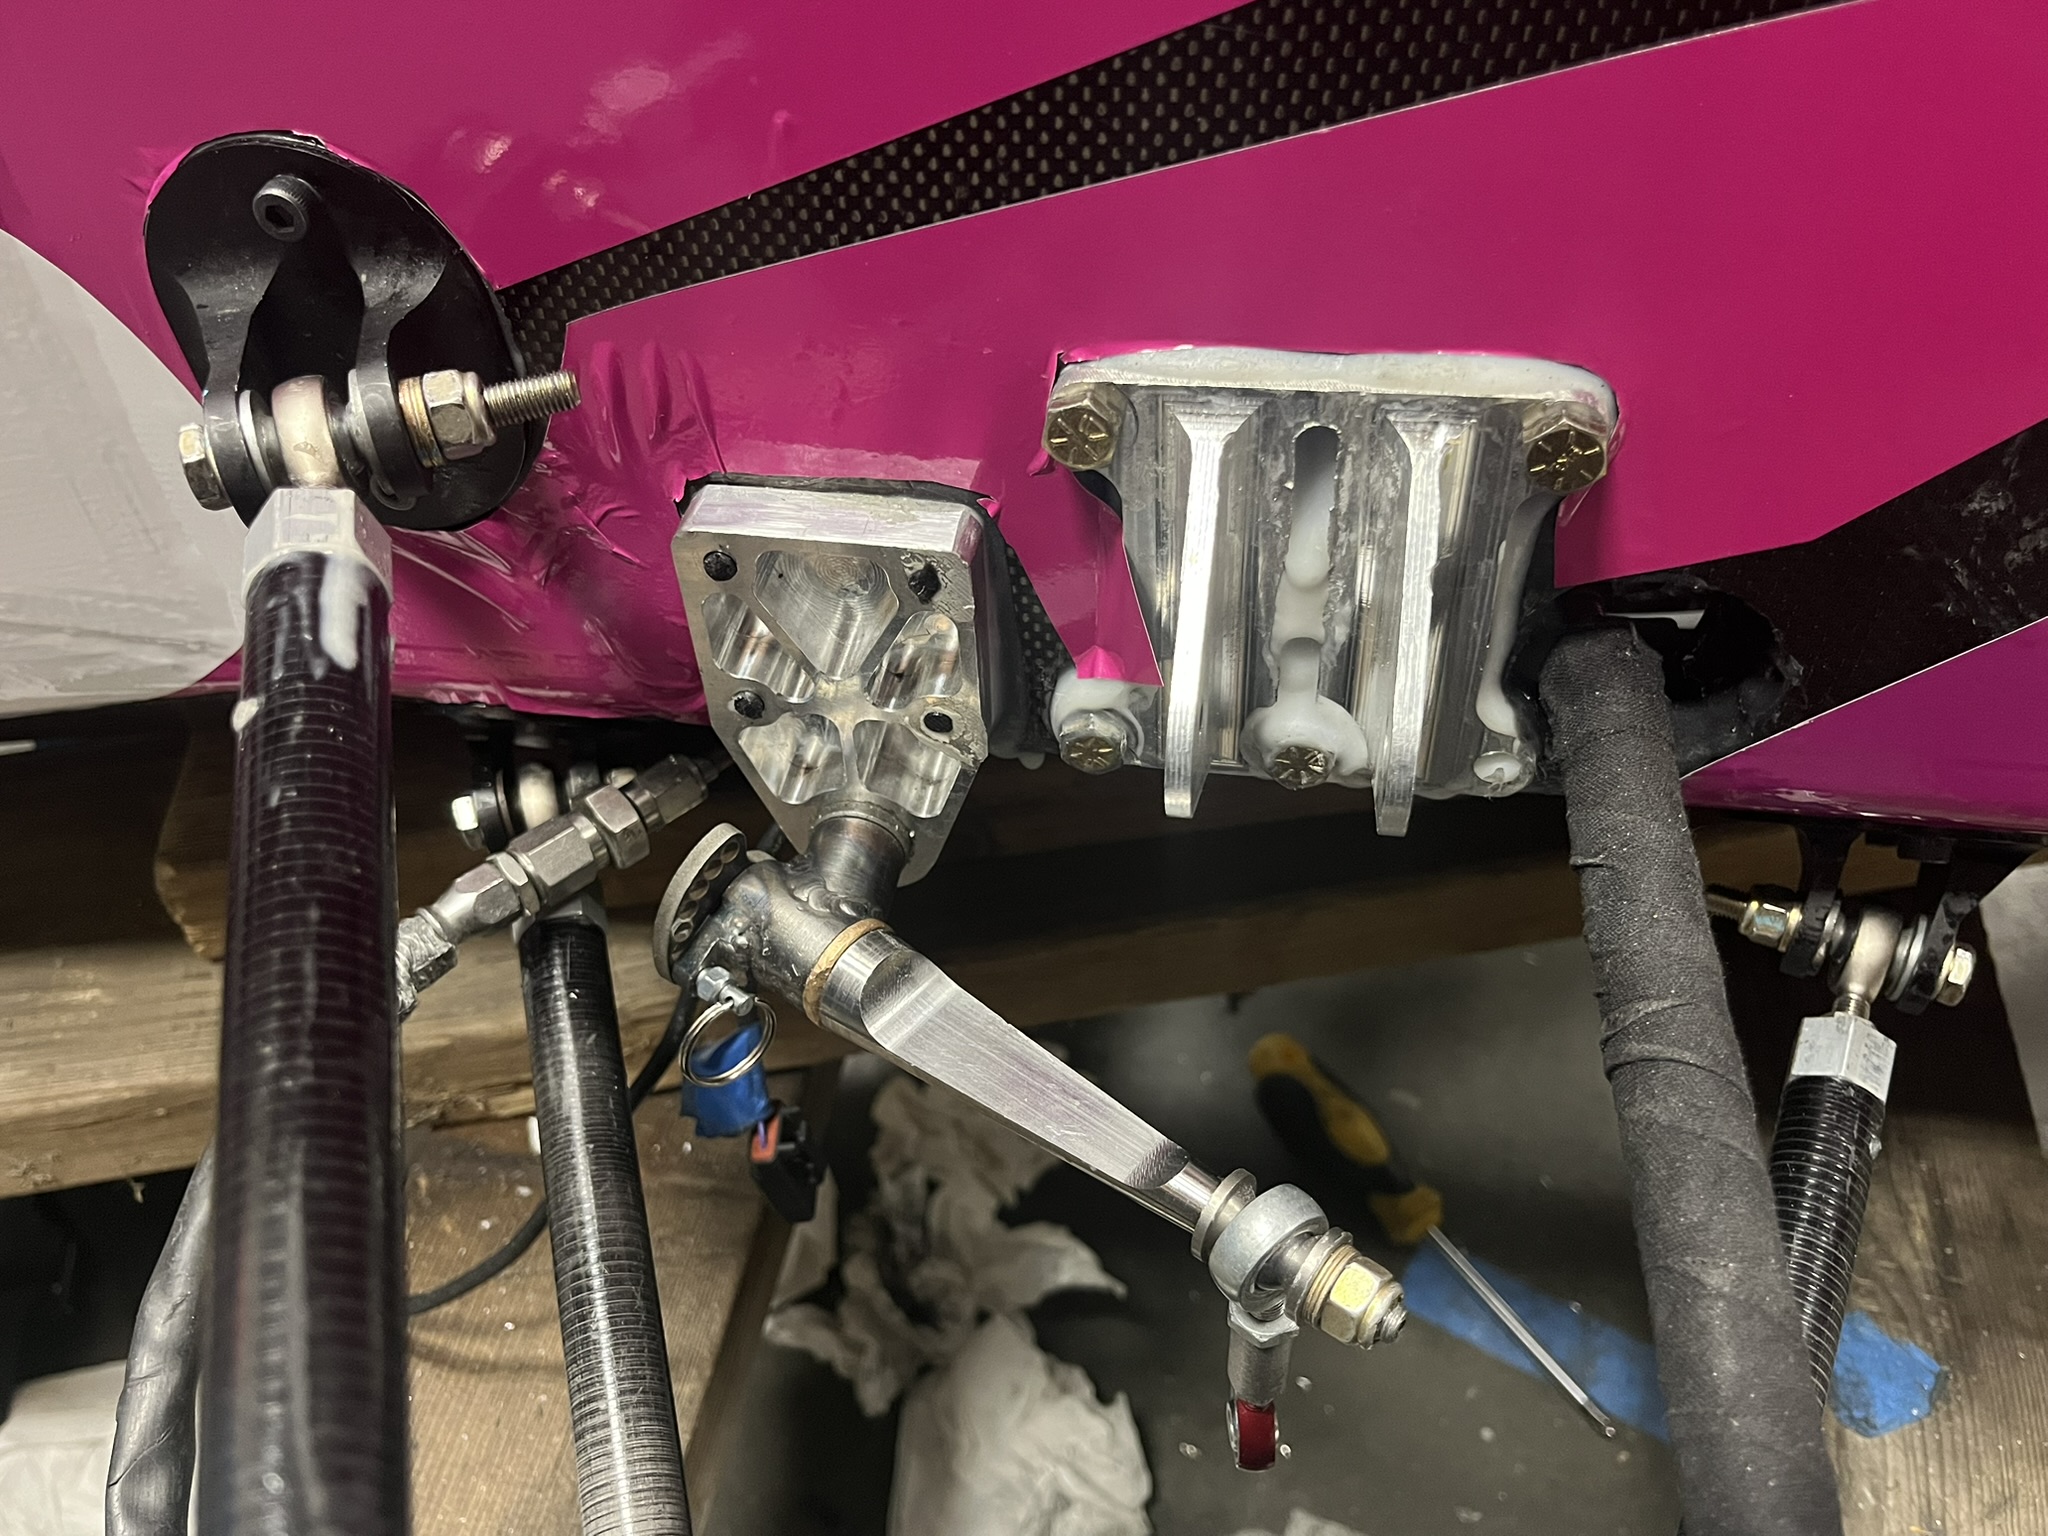
- Ensured the mechanism could be reached and adjusted easily with the bodywork on
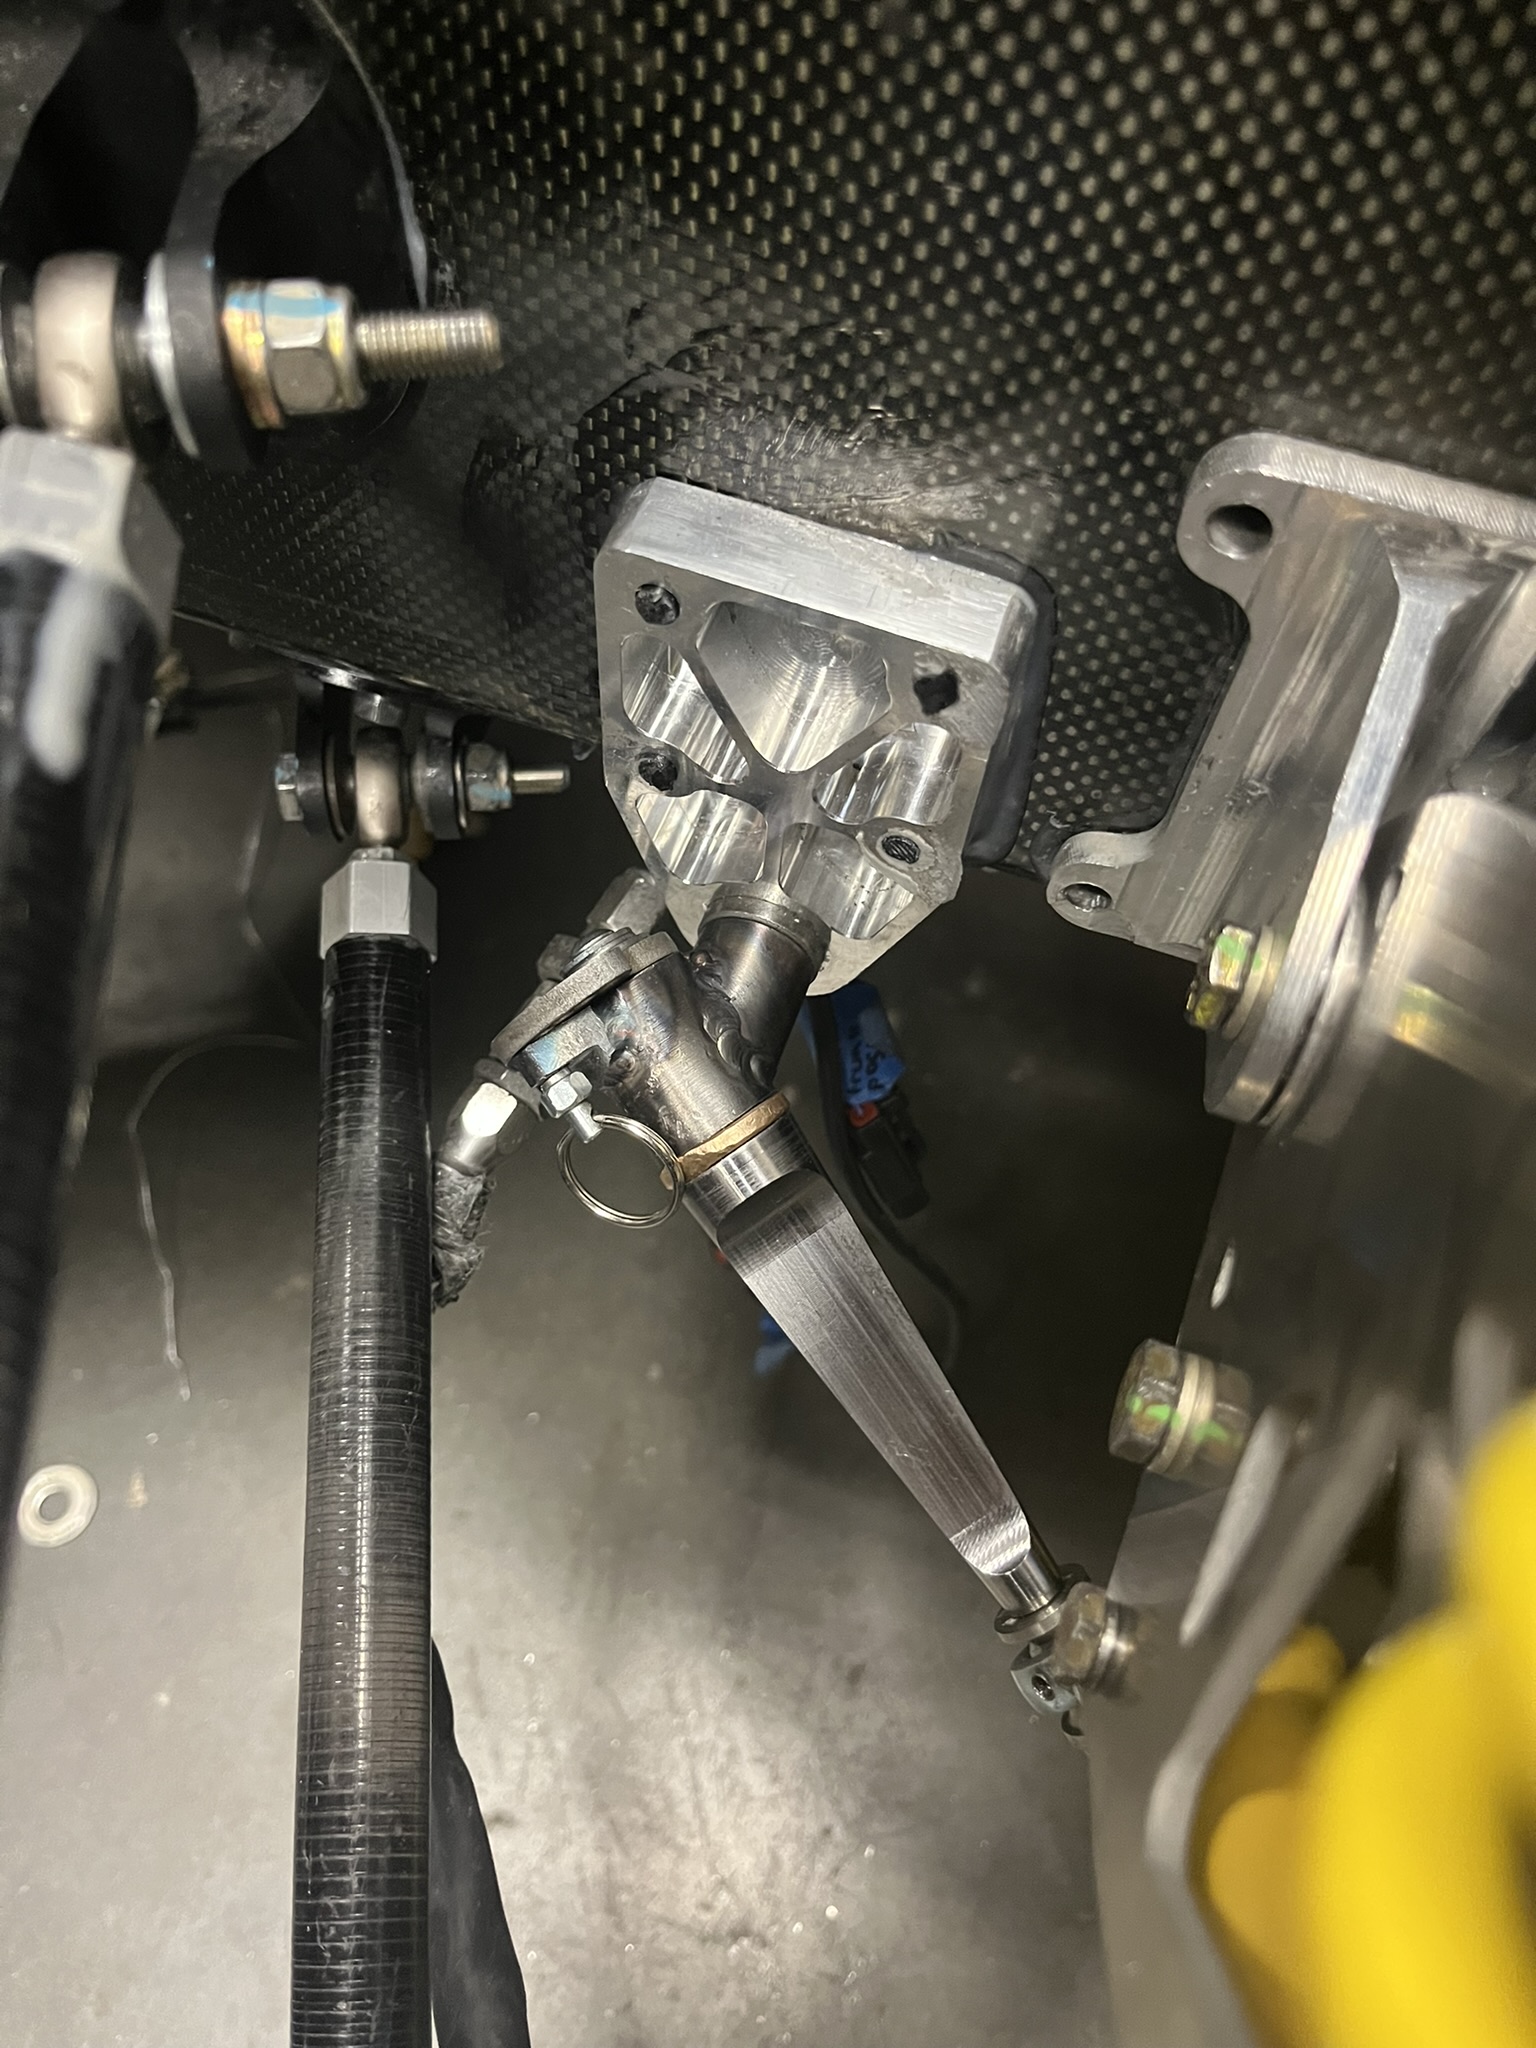 Adjustable blade mechanism visible with bodywork on
Results & Takeaways
- Sub-30 second stiffness changes, compared to ~10–15 minutes with previous FARB designs
- A simulation-backed stiffness range, making setup decisions more quantitative and less guesswork
- Practical experience combining:
- Multibody simulation (Simulink) as a design tool
- 3D-printed soft jaws and waterjet jigs to do precise machining on irregular parts
- Reinforced how powerful it is to close the loop between simulation, fixturing, and on-car usability, especially for components that directly affect vehicle balance and driver confidence
 Complete car with the finished FARB system