Robot Summer 2025: Pet Rescue Bot
Seven-week autonomous robot project featuring a 3D-printed chassis, custom R–Z–θ arm, and YOLOv11 vision system. Built entirely from scratch by a team of four for UBC’s Robot Summer competition. Iteration speed through additive manufacturing was the key advantage.
This summer I spent seven weeks in ENPH 253 (Robot Summer), a project-based course where teams of four build an autonomous robot from scratch for a themed competition. The 2025 theme was “Pet Rescue”: navigate a cluttered course, find plush animals, and get them to safety as fast and reliably as possible.
Teams typically put in 50–70 hours a week, and the final public competition is the exam.
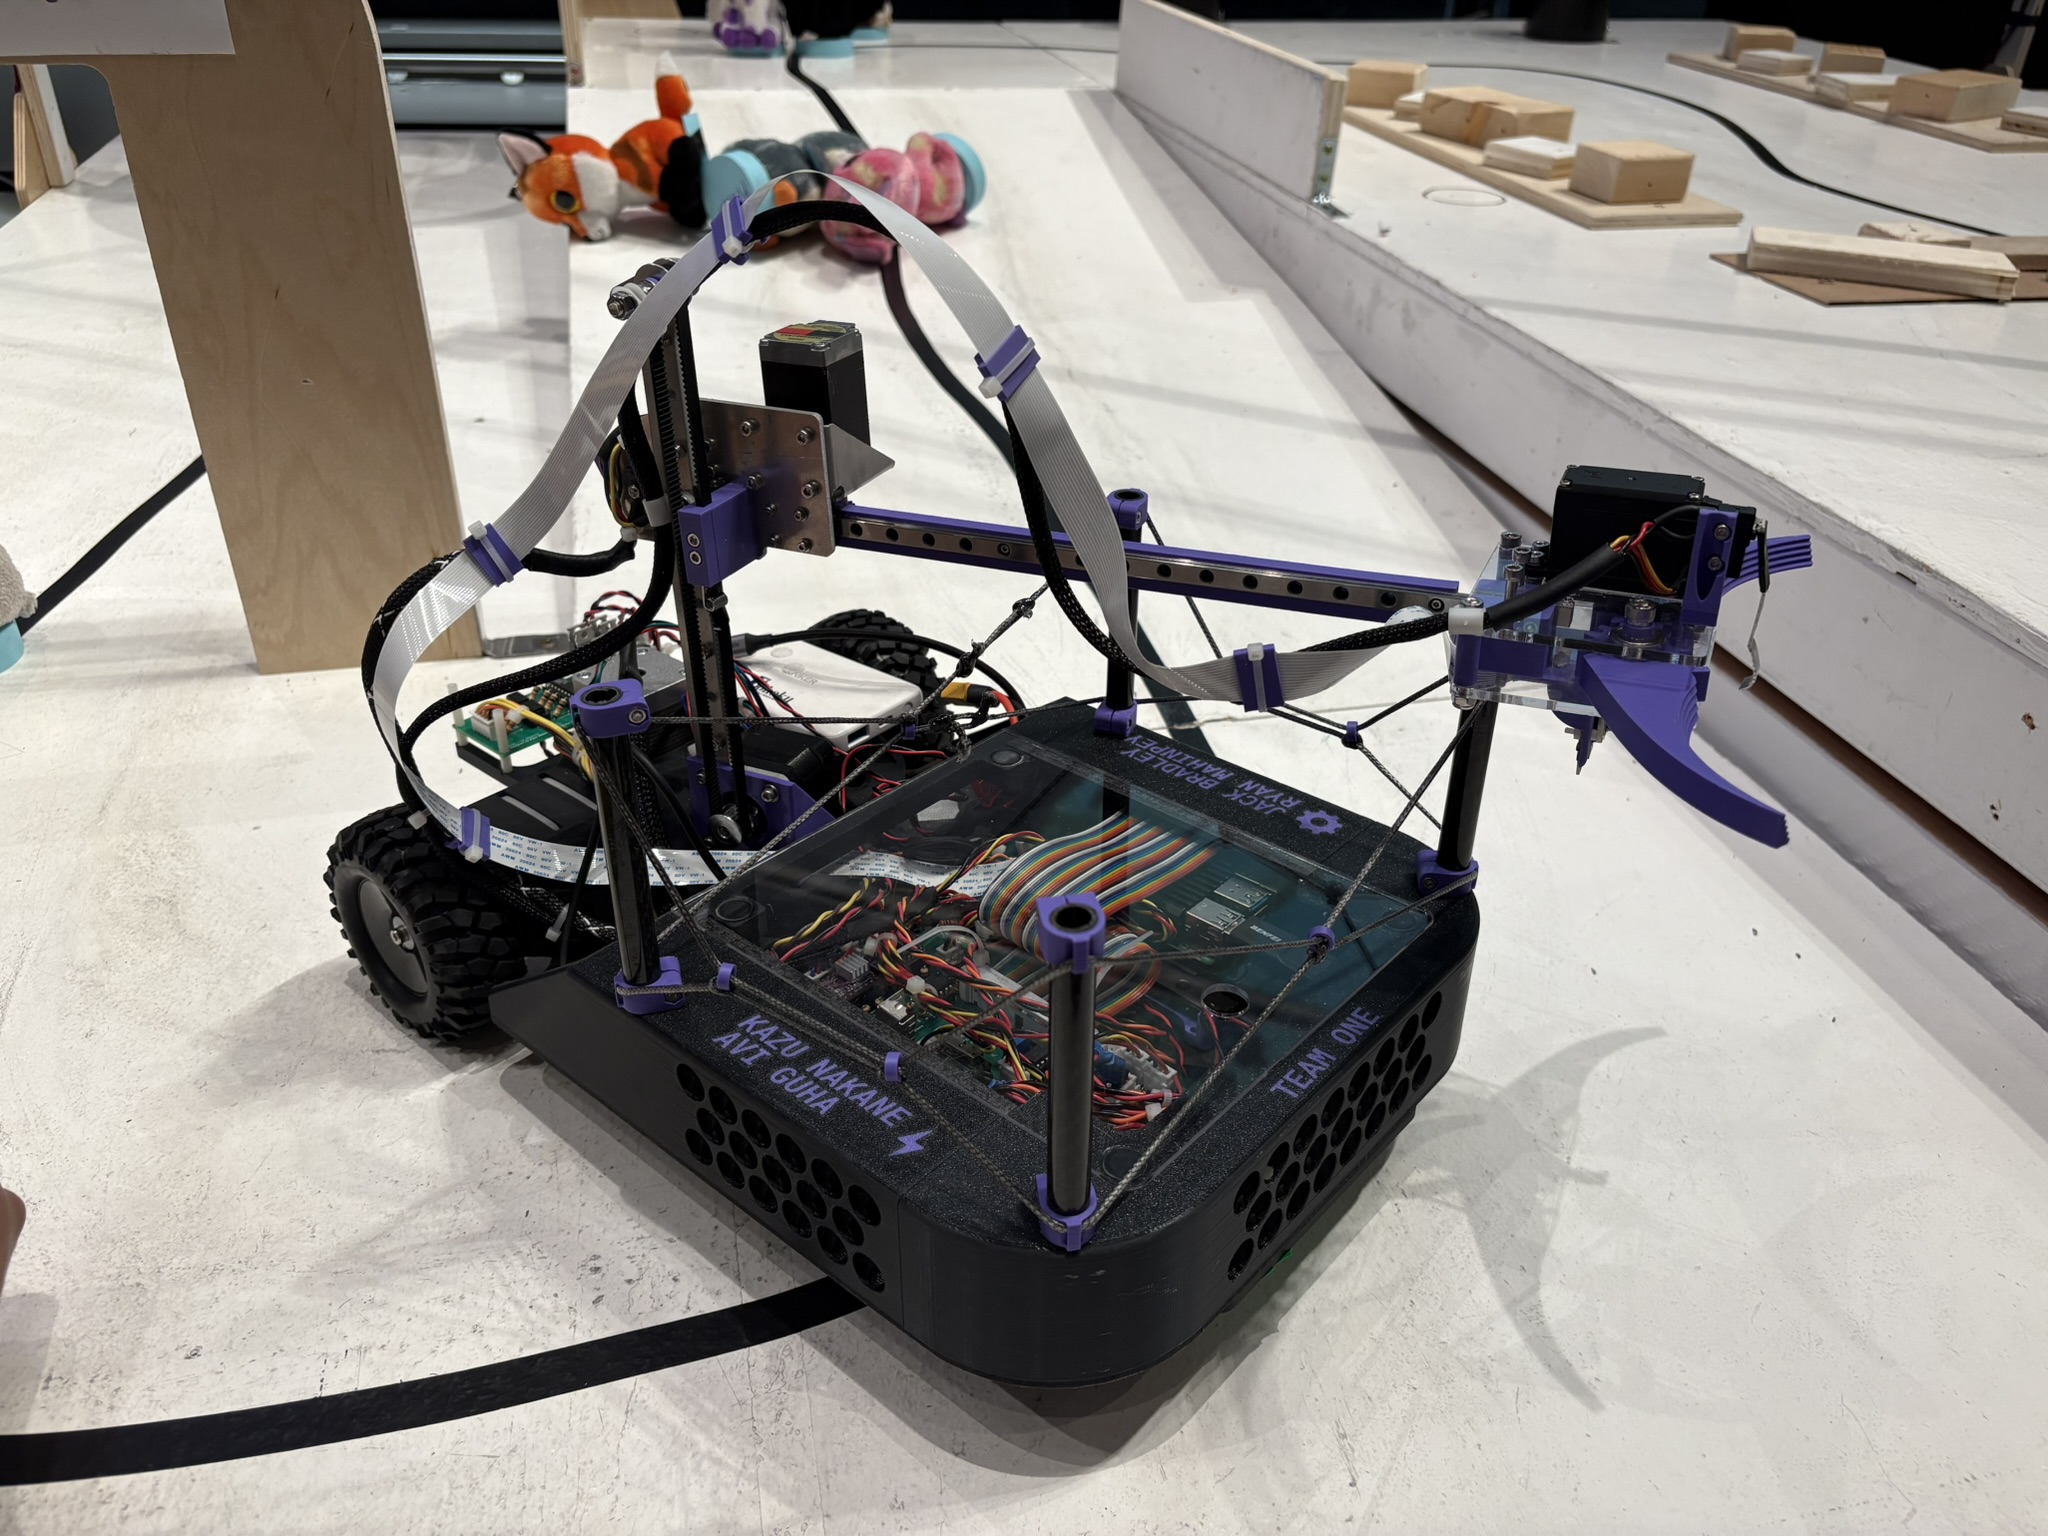
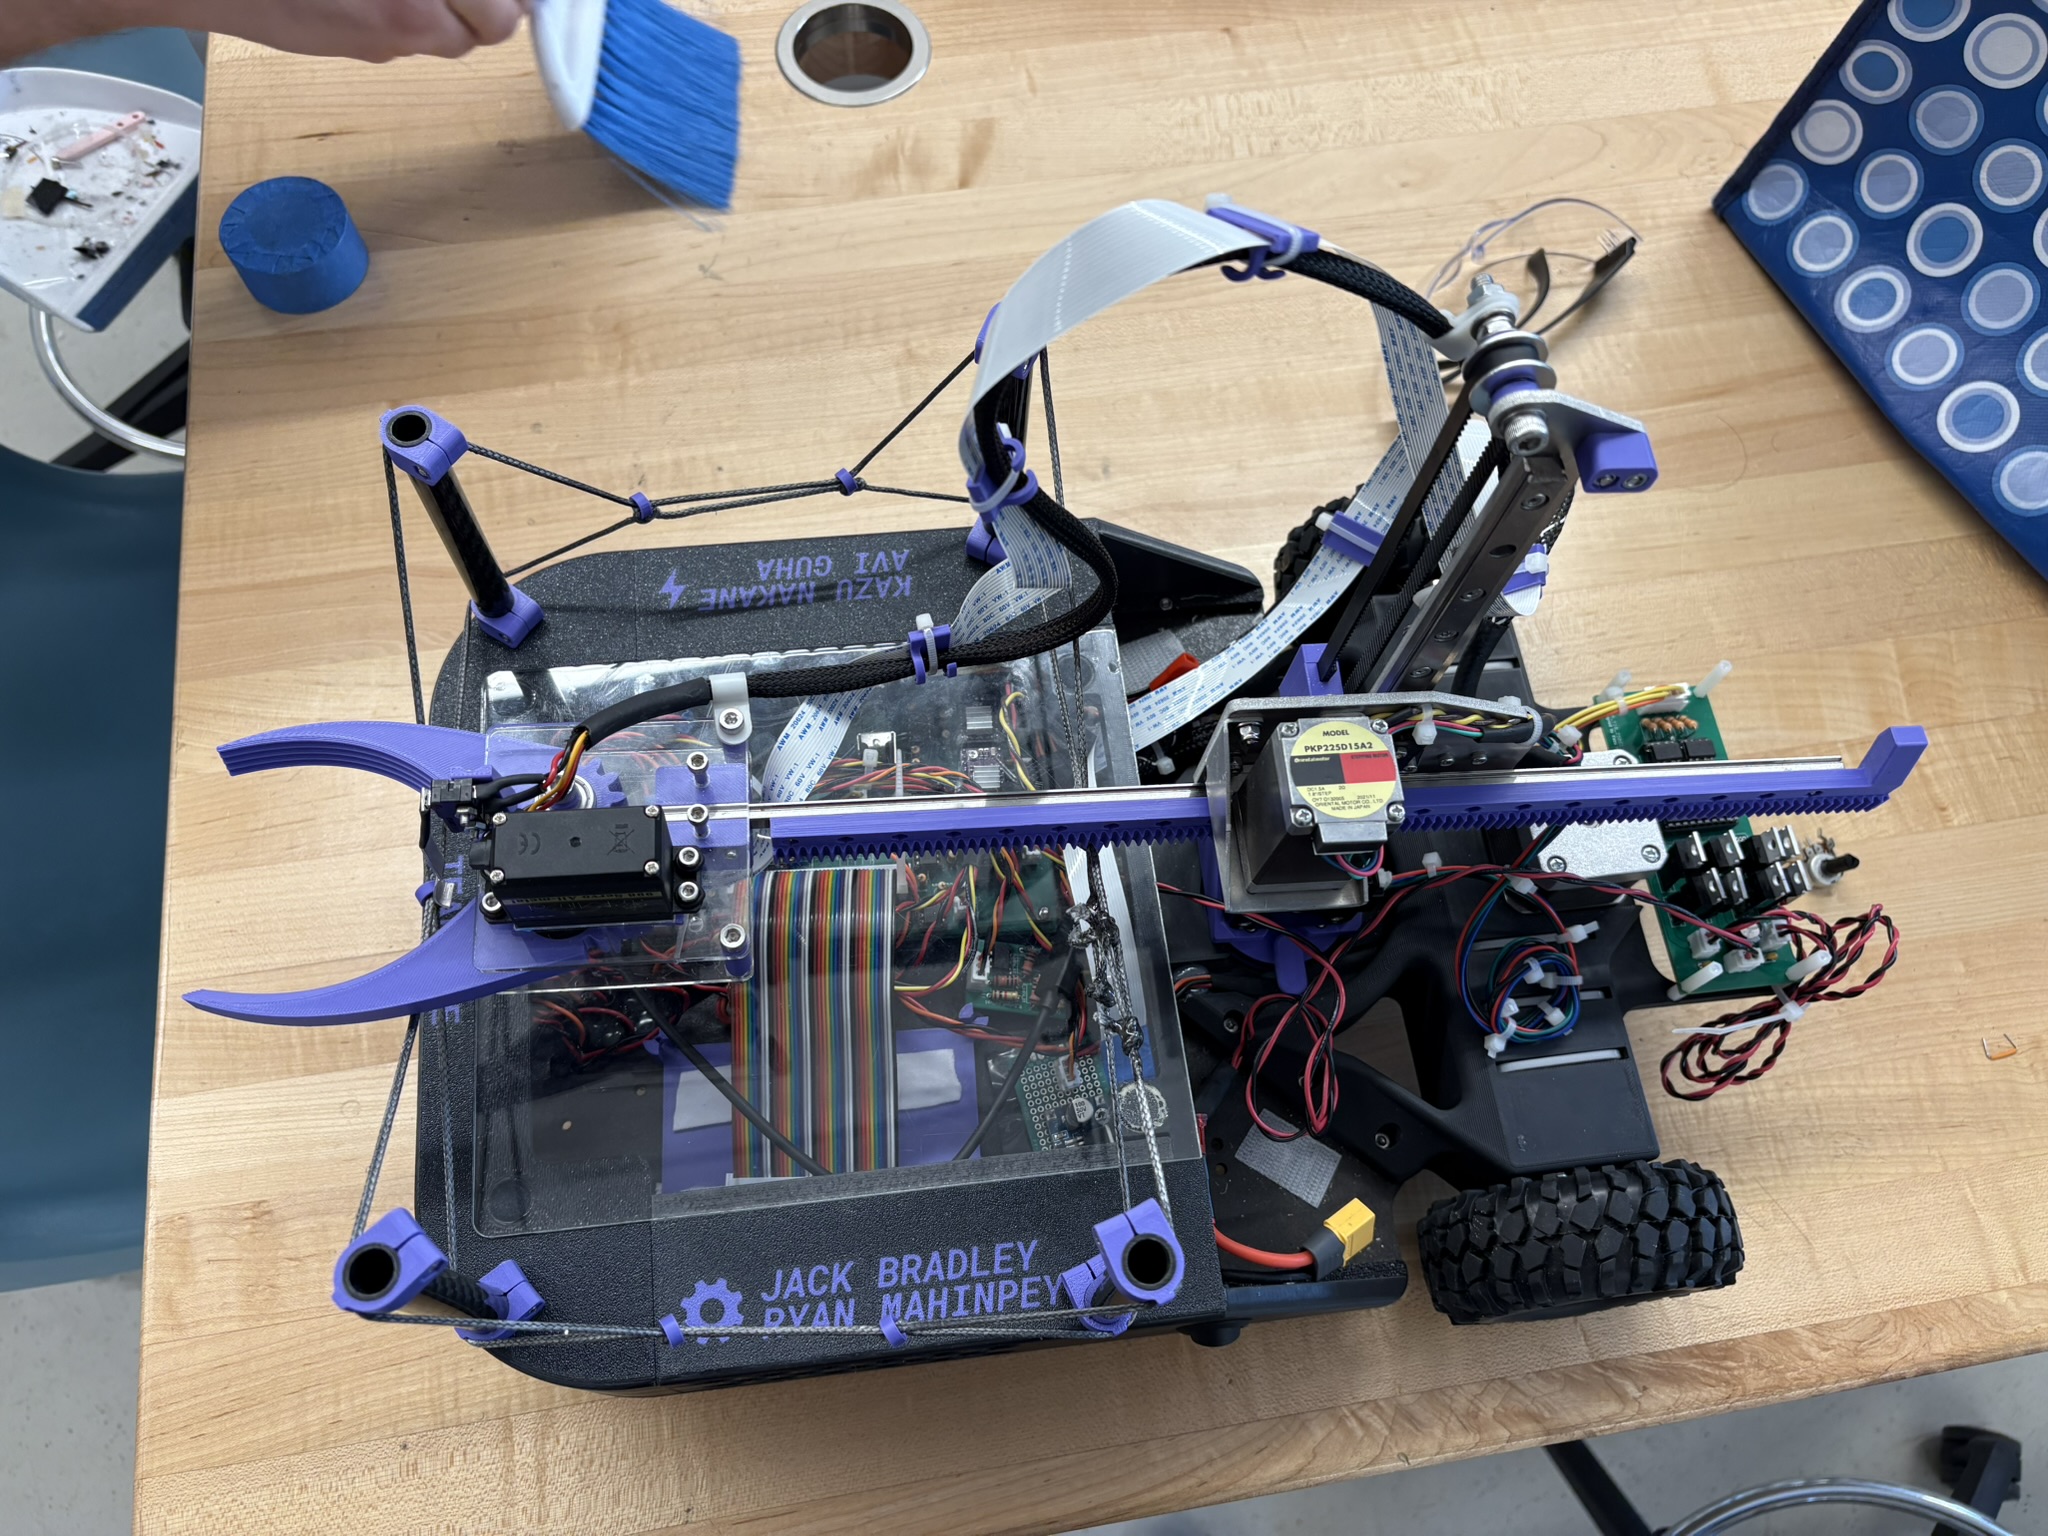 Final robot with R–Z–θ arm and vision system
Our team focused on two ideas:
- Use 3D printing for most large structures to maximize iteration and minimize time spent machining
- Build an R–Z–θ arm that could reach quickly and reliably across a large workspace
Design Philosophy: When in doubt, print it out
Most teams spent a large amount of time machining. I tried to turn as much of that time into testing:
- Complex parts (like our sub-chassis) were 3D printed
- Anything not printed was laser cut or waterjet cut
- We never touched a mill or lathe during the whole course
This meant that if I wanted to try a new chassis idea, I could:
- Make the change in SolidWorks in the afternoon
- Start a print before leaving
- Show up the next morning to a new sub-chassis ready to assemble
That iteration speed let us spend our energy on:
- Iterating geometry for stiffness, mounting points, and clearances
- Simplifying assembly and maintenance
- Making room for wiring and sensors
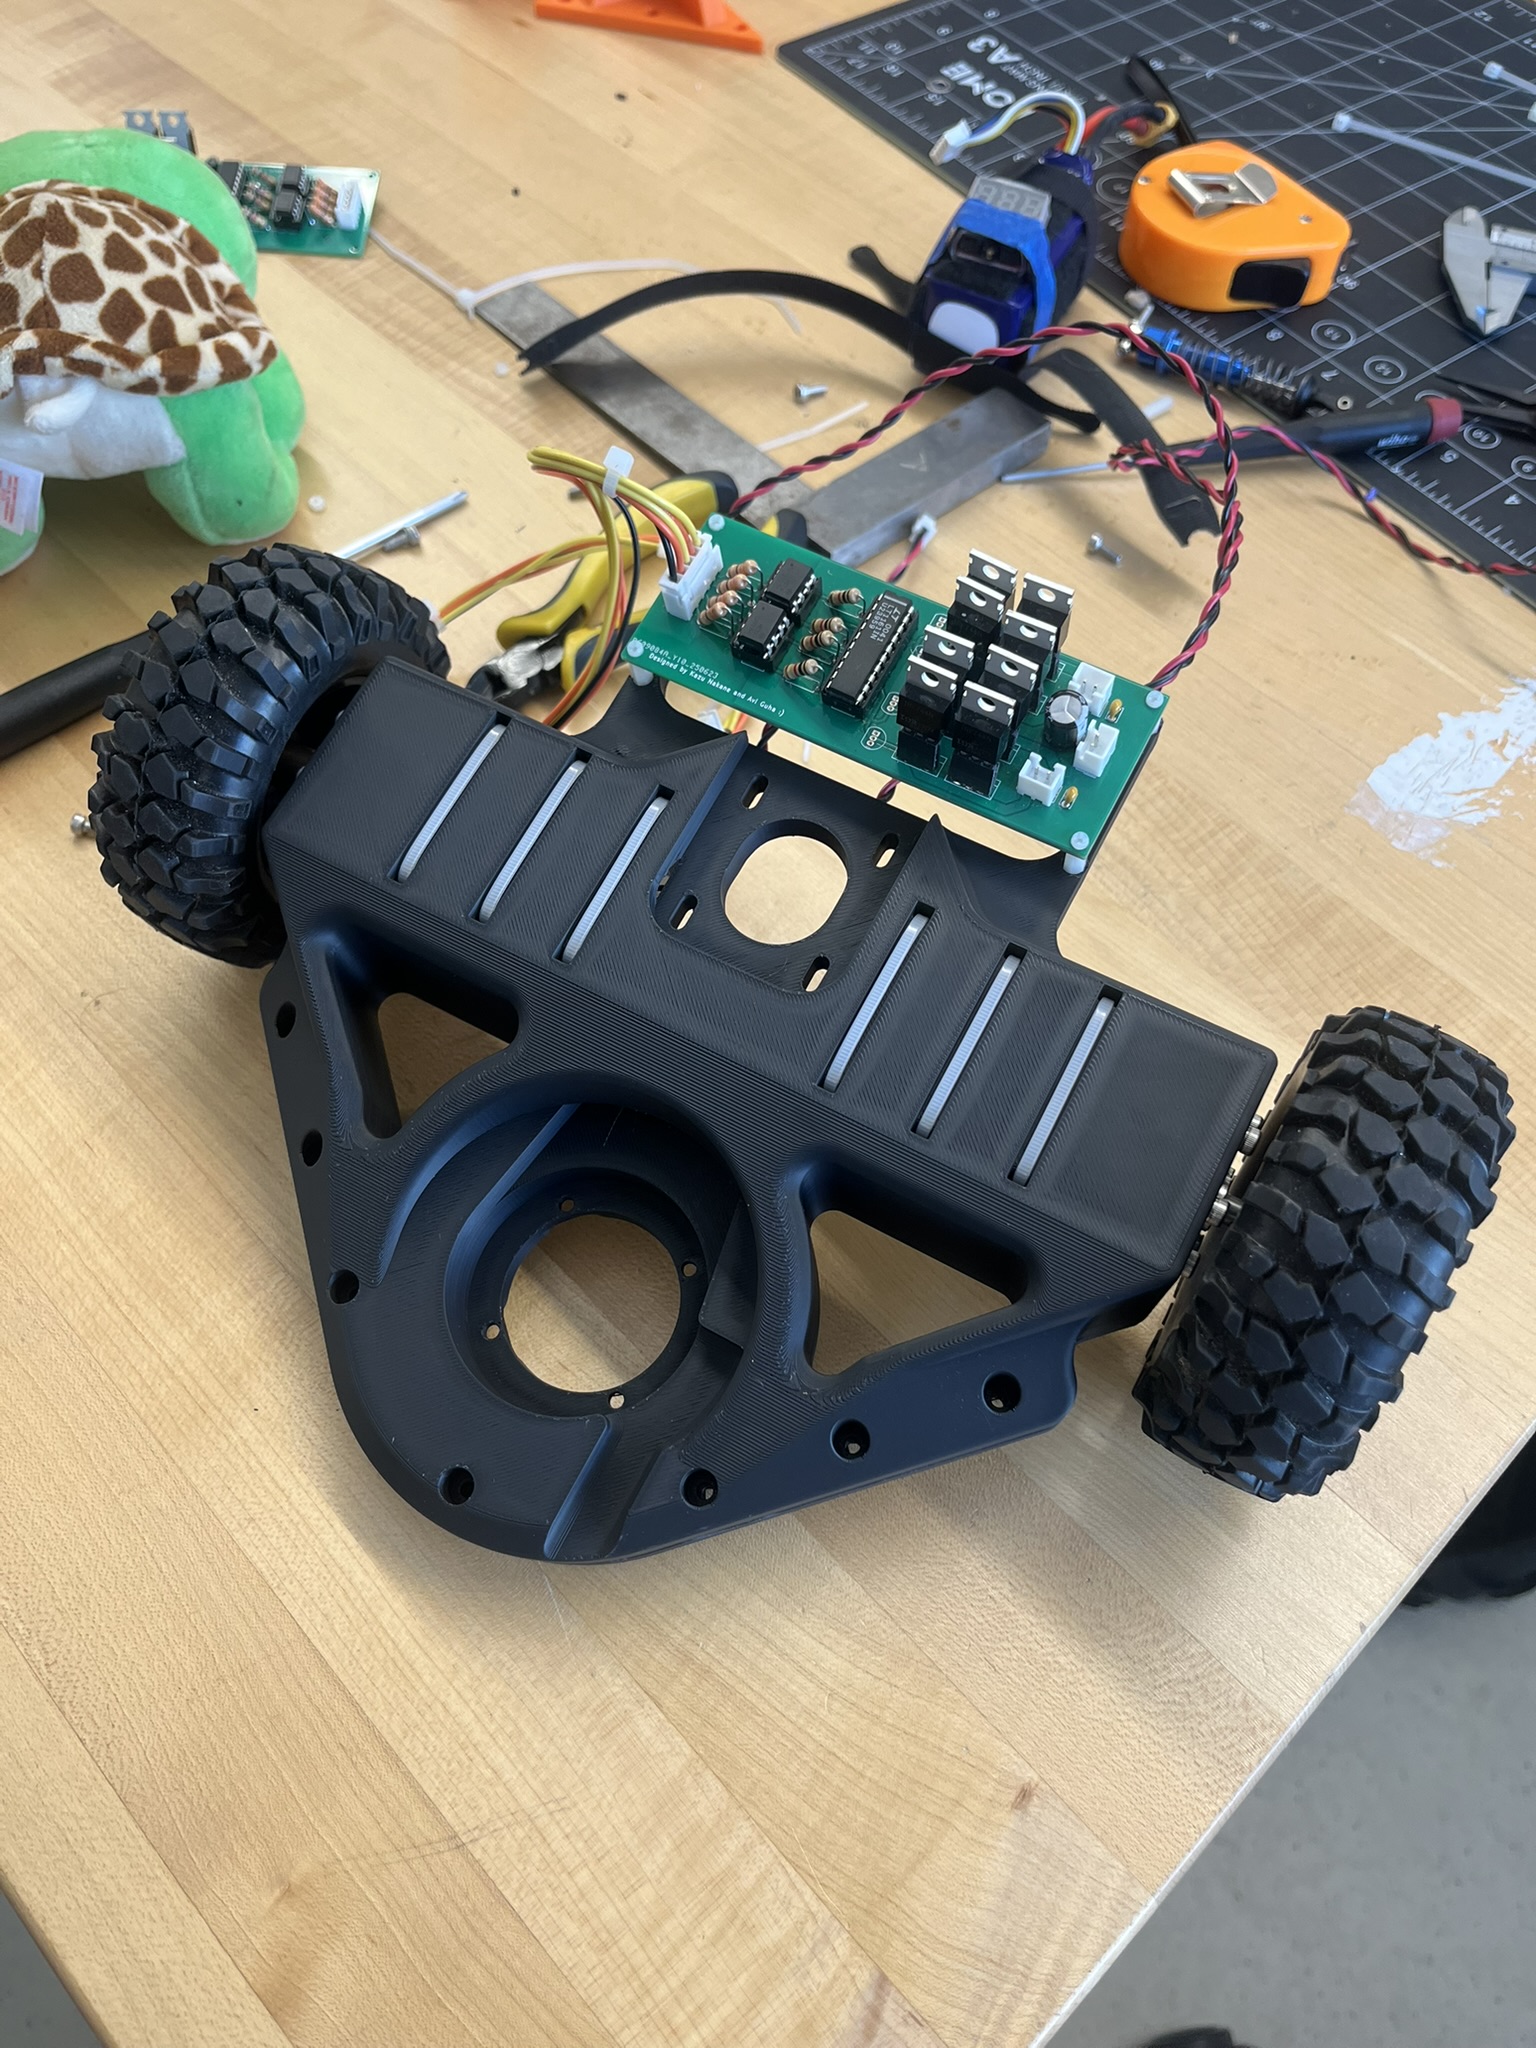 3D-printed sub-chassis with integrated mounting points
Left: Side view showing arm clearance. Right: Top view with electronics layout
The final robot felt solid, but we reached that point with far more design iterations than if everything had been aluminum.
The Arm: R–Z–θ on a Student Budget
My favorite part of the robot was the arm. The goal was a fast, robust manipulator that could sweep a wide area and grab plushies without needing perfect approach.
Mechanism
The arm used an R–Z–θ layout:
- θ axis at the base for rotation
- Z axis for vertical motion
- R axis for radial extension
Mechanically:
- Two axes were belt driven by stepper motors
- One axis used a rack and pinion
- Linear rails, steppers, and belts came from a low-cost supplier in China
The long lead time was worth it. We ended up with high quality rails and motors for very little money.
I also scavenged and reused parts:
- A bearing for the θ base from a scrap bin at Zaber
- One stepper from my team lead at Zaber (shoutout to James)
All wiring on the arm was bundled in nylon cover:
- Less chance of snagging on the moving arm
- Easier inspection and repair
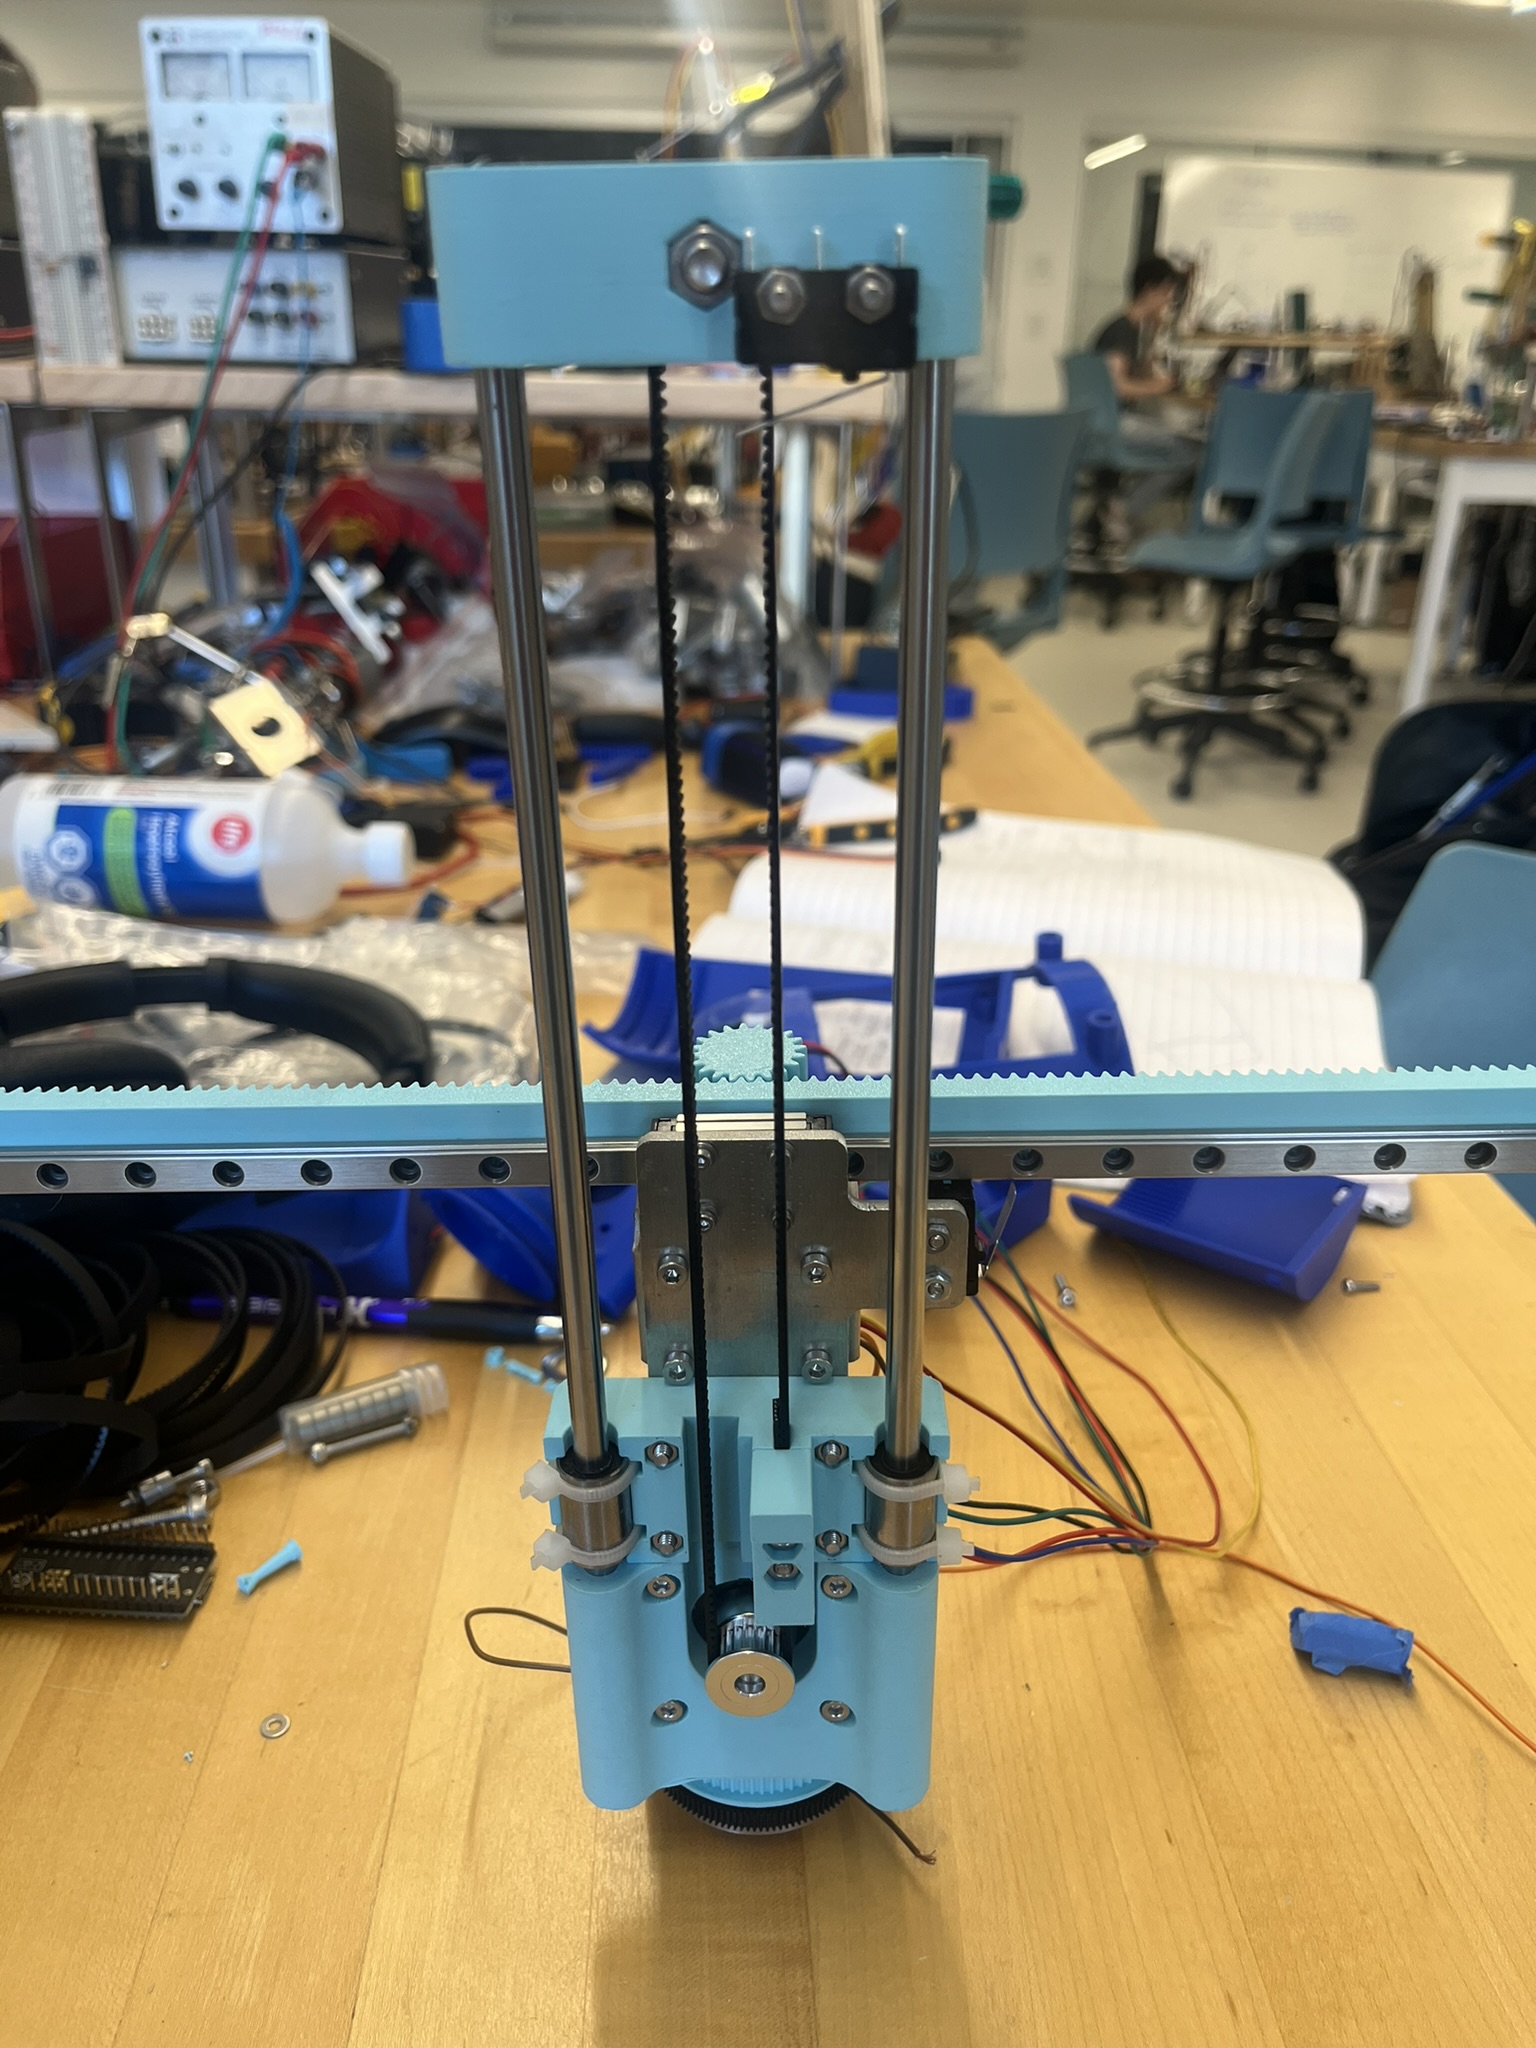
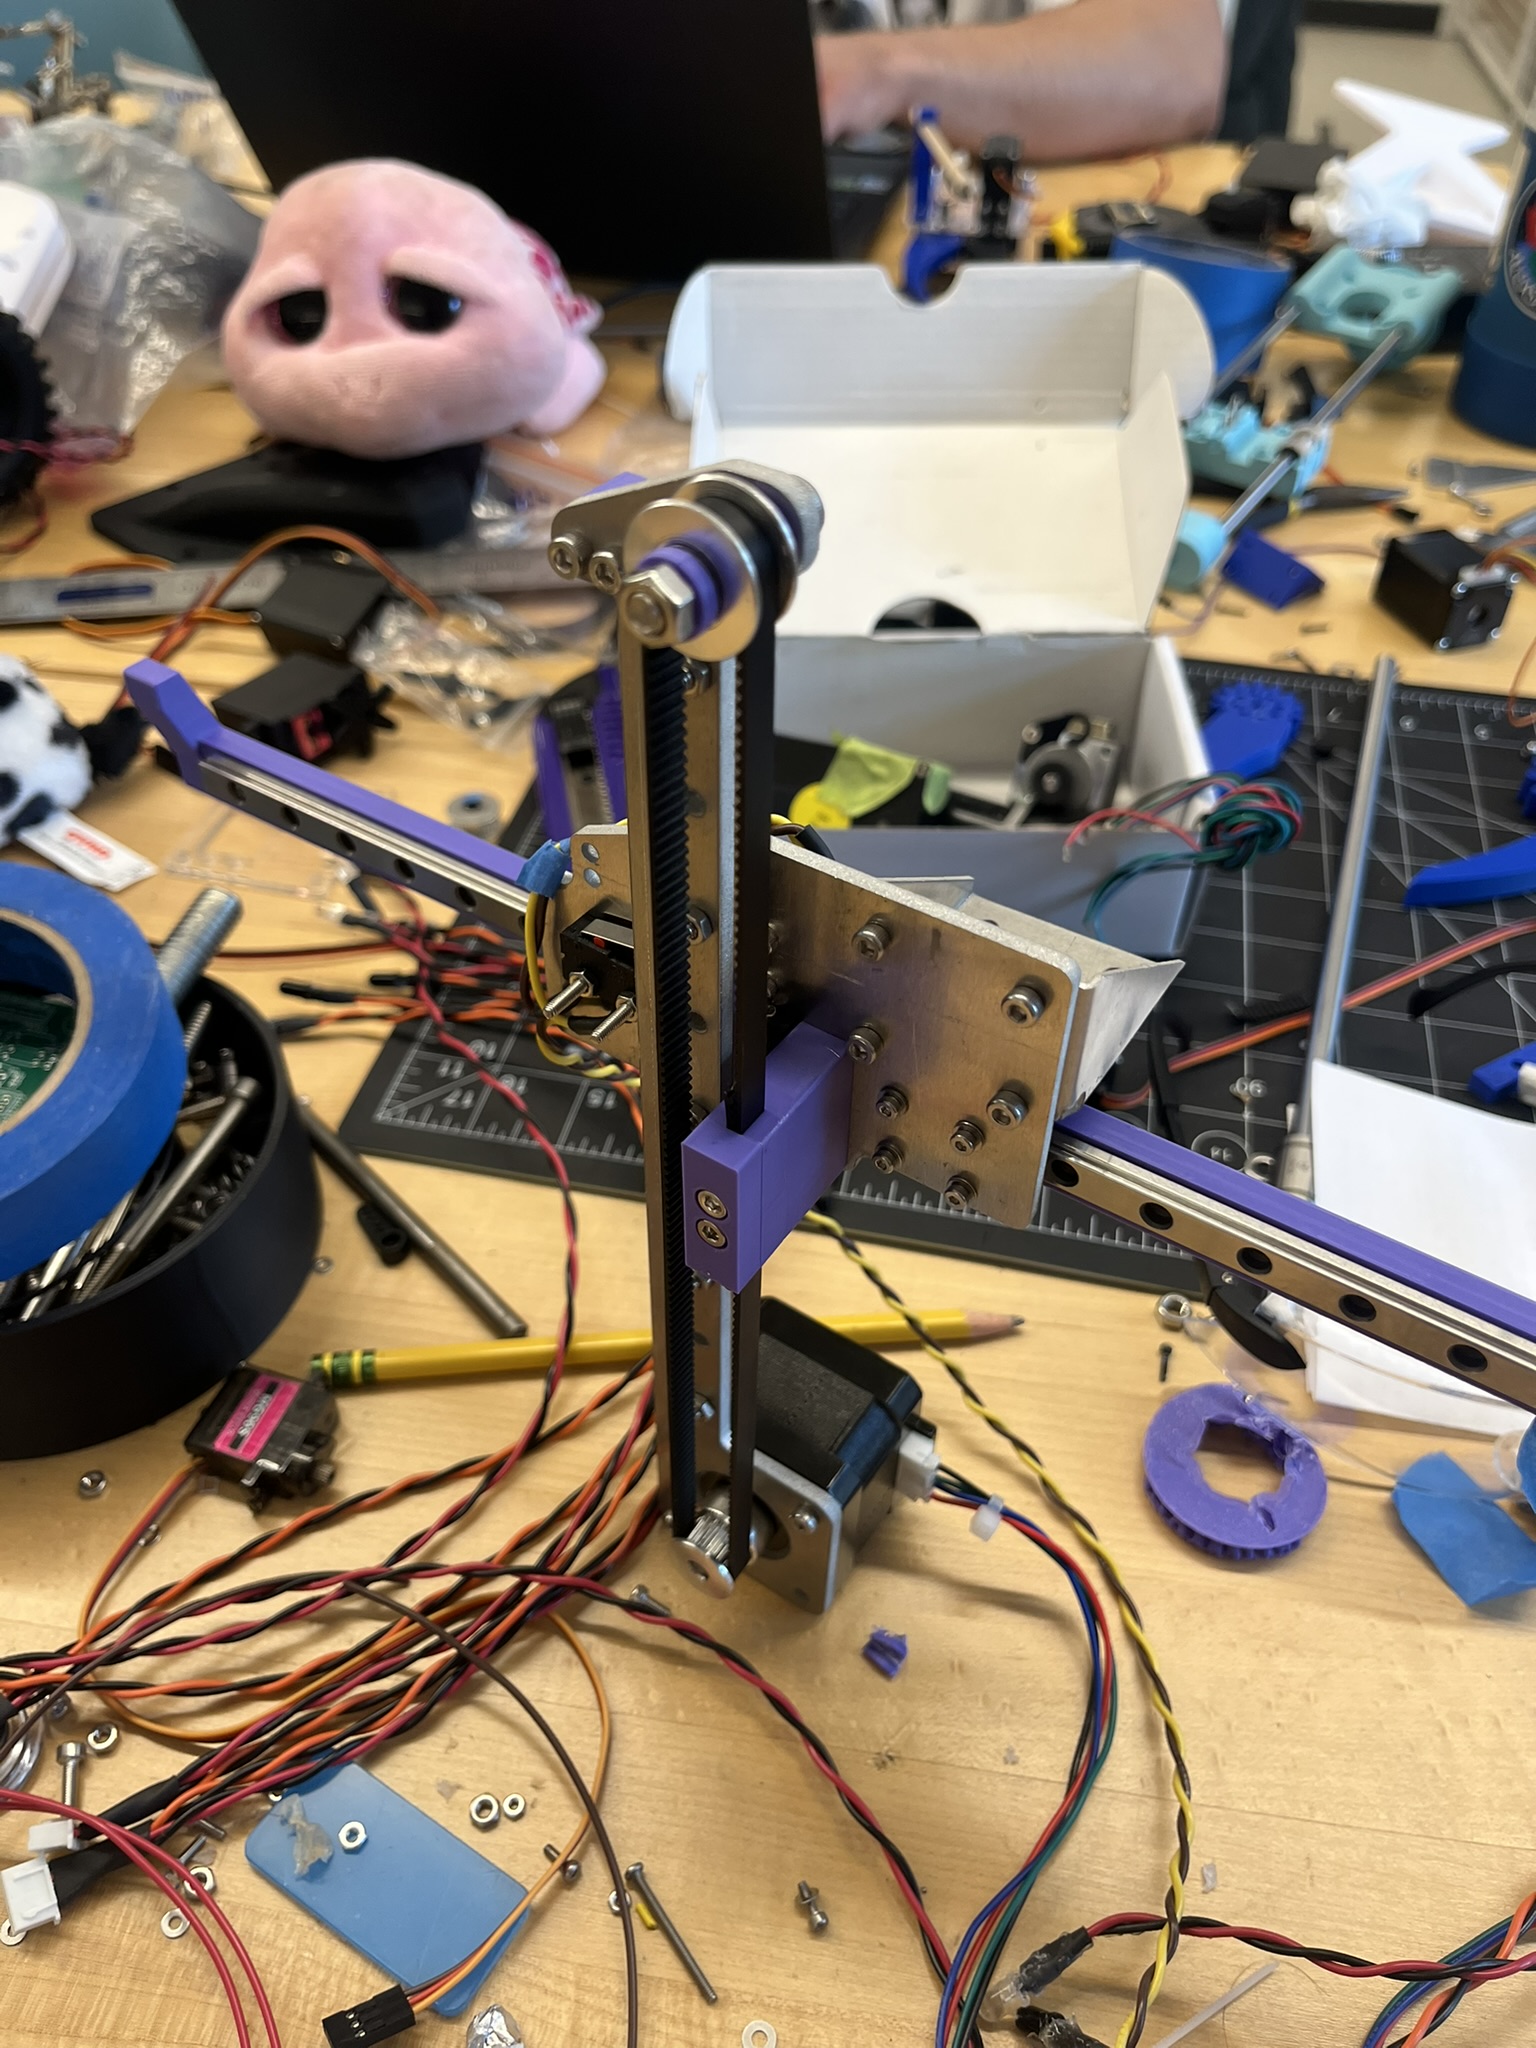
Left: Early arm prototype. Right: Final arm design with cable management
Control
On the control side:
- High level strategy and perception ran on a Raspberry Pi
- Low level motion control and line following ran on an ESP32
- The two boards communicated over UART
The arm used stepper motors with acceleration profiles:
- Python GPIO controlled motion profiles
- Smooth acceleration to avoid skipped steps
- Hall effect sensors and limit switches allowed open loop control
Vision and Strategy
Perception was one of the hardest parts of the competition.
We used:
- A YOLOv11 model on the Raspberry Pi with an SSD
- A dataset of roughly 4,000 labeled images of the plushies
- A PD controller on the Pi that used the plushie’s position in the frame to align the robot for grabbing (sub-one second homing)
The high level behavior looked like:
- Line follow and navigate until plushies appear in view
- Use YOLO to detect a plushie and compute a target
- Use PD alignment to position the arm
- Command the arm to reach and grab
- Place plushie in the basket and continue to the safe zone
This stack combined computer vision, real time control, and coordination between two processors.
Why 3D Printing Was a Key Differentiator
From an engineering point of view, one of our biggest wins was iteration speed enabled by 3D printing:
- Major structural changes to the chassis or arm mounts took hours in CAD, not days in the shop
- Overnight prints meant every day started with a new version to test
- Laser cutting and waterjet use were reserved for parts where stiffness or precision really mattered
Instead of sinking time into machining, we invested in:
- Strategy and control
- Tuning arm motion and robustness
- Improving serviceability and cable routing
- Tweaking perception and behavior
Robot Summer is already intense. Treating 3D printing as the default for complex structures allowed us to push a more ambitious design without getting buried in the machine shop.
Takeaways
A few key lessons from this project:
- Design for iteration, not perfection. Commiting too heavily in one direction limits how much you can explore the design space.
- Good motion hardware is worth the sourcing effort. Buying certain precision machined components allowed us to loosen tolerances on parts we fabricated.
- Cable management is important. Thinking ahead about routing wires allows you to test more aggressively without worry.
- Specialization between processors is powerful. High level perception and strategy on the Pi, with deterministic low level control on the ESP32, worked very well.
My teammates Avi Guha, Kazu Nakane, and Ryan Mahinpey spent countless hours designing, building, and testing this robot. I’m proud of what we built and grateful to have worked with such a talented group of people.